This video highlights a test that myself and my colleagues at The University of Lincoln, UK, conducted with our Year 2 students on the BA (hons) Media Production course. Taking the knowledge and practice I had developed when managing post-production colour and VFX on two recent feature films, our focus was on developing a fully 'Scene Referred' workflow/round trip from DaVinci Resolve to Blender 3D and back again, together with the students, so they could see the benefits of such an approach.
Demo of Colour Management VFX processes
In order to do this we used the freely available Open Color IO Look Up Tables for ACES 1.2 and installed these into Blender. This then facilitated a full ACES workflow using the ACES CG ODT and IDTs to communicate back and forth.
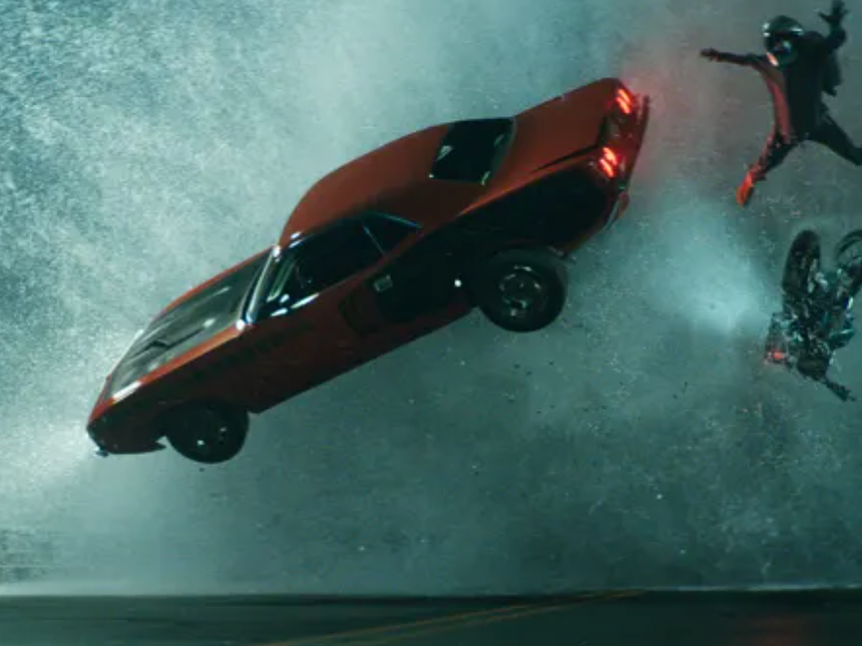
Additionally, we acquired the footage for the test with our students using a Blackmagic Pocket Cinema Camera, shooting in Scene Referred RAW DCI 4K. This was then imported to Resolve, converted to ACES CG (Linear) and distributed to VFX students using .EXR image sequences to preserve the Scene Referred data.
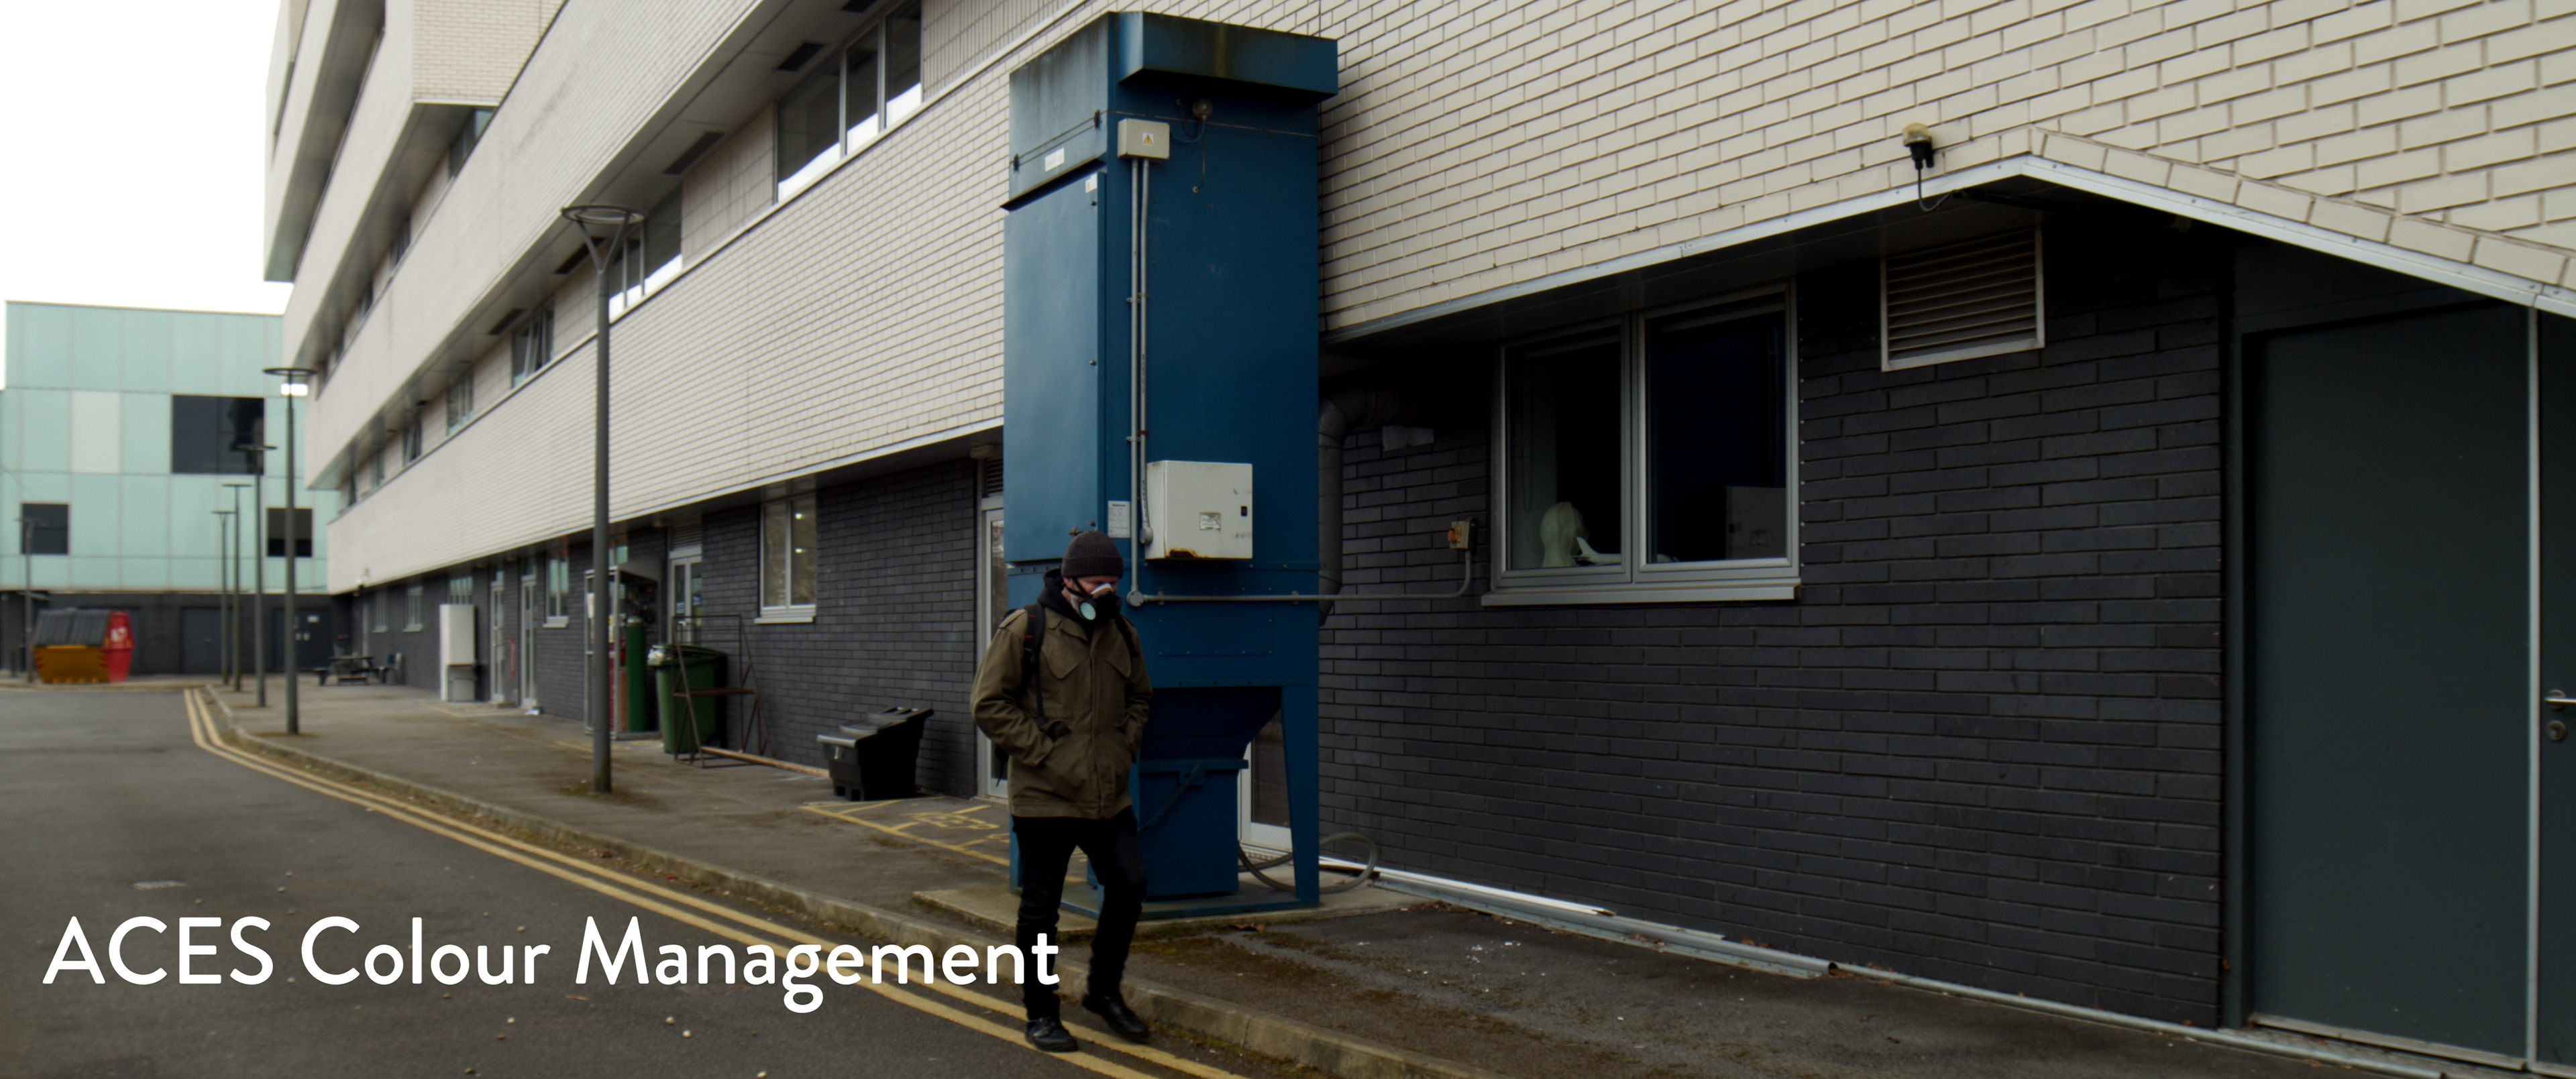
ACES Colour Management
RAW Camera File (.braw)

ACES CG (ODT) exported as .EXR
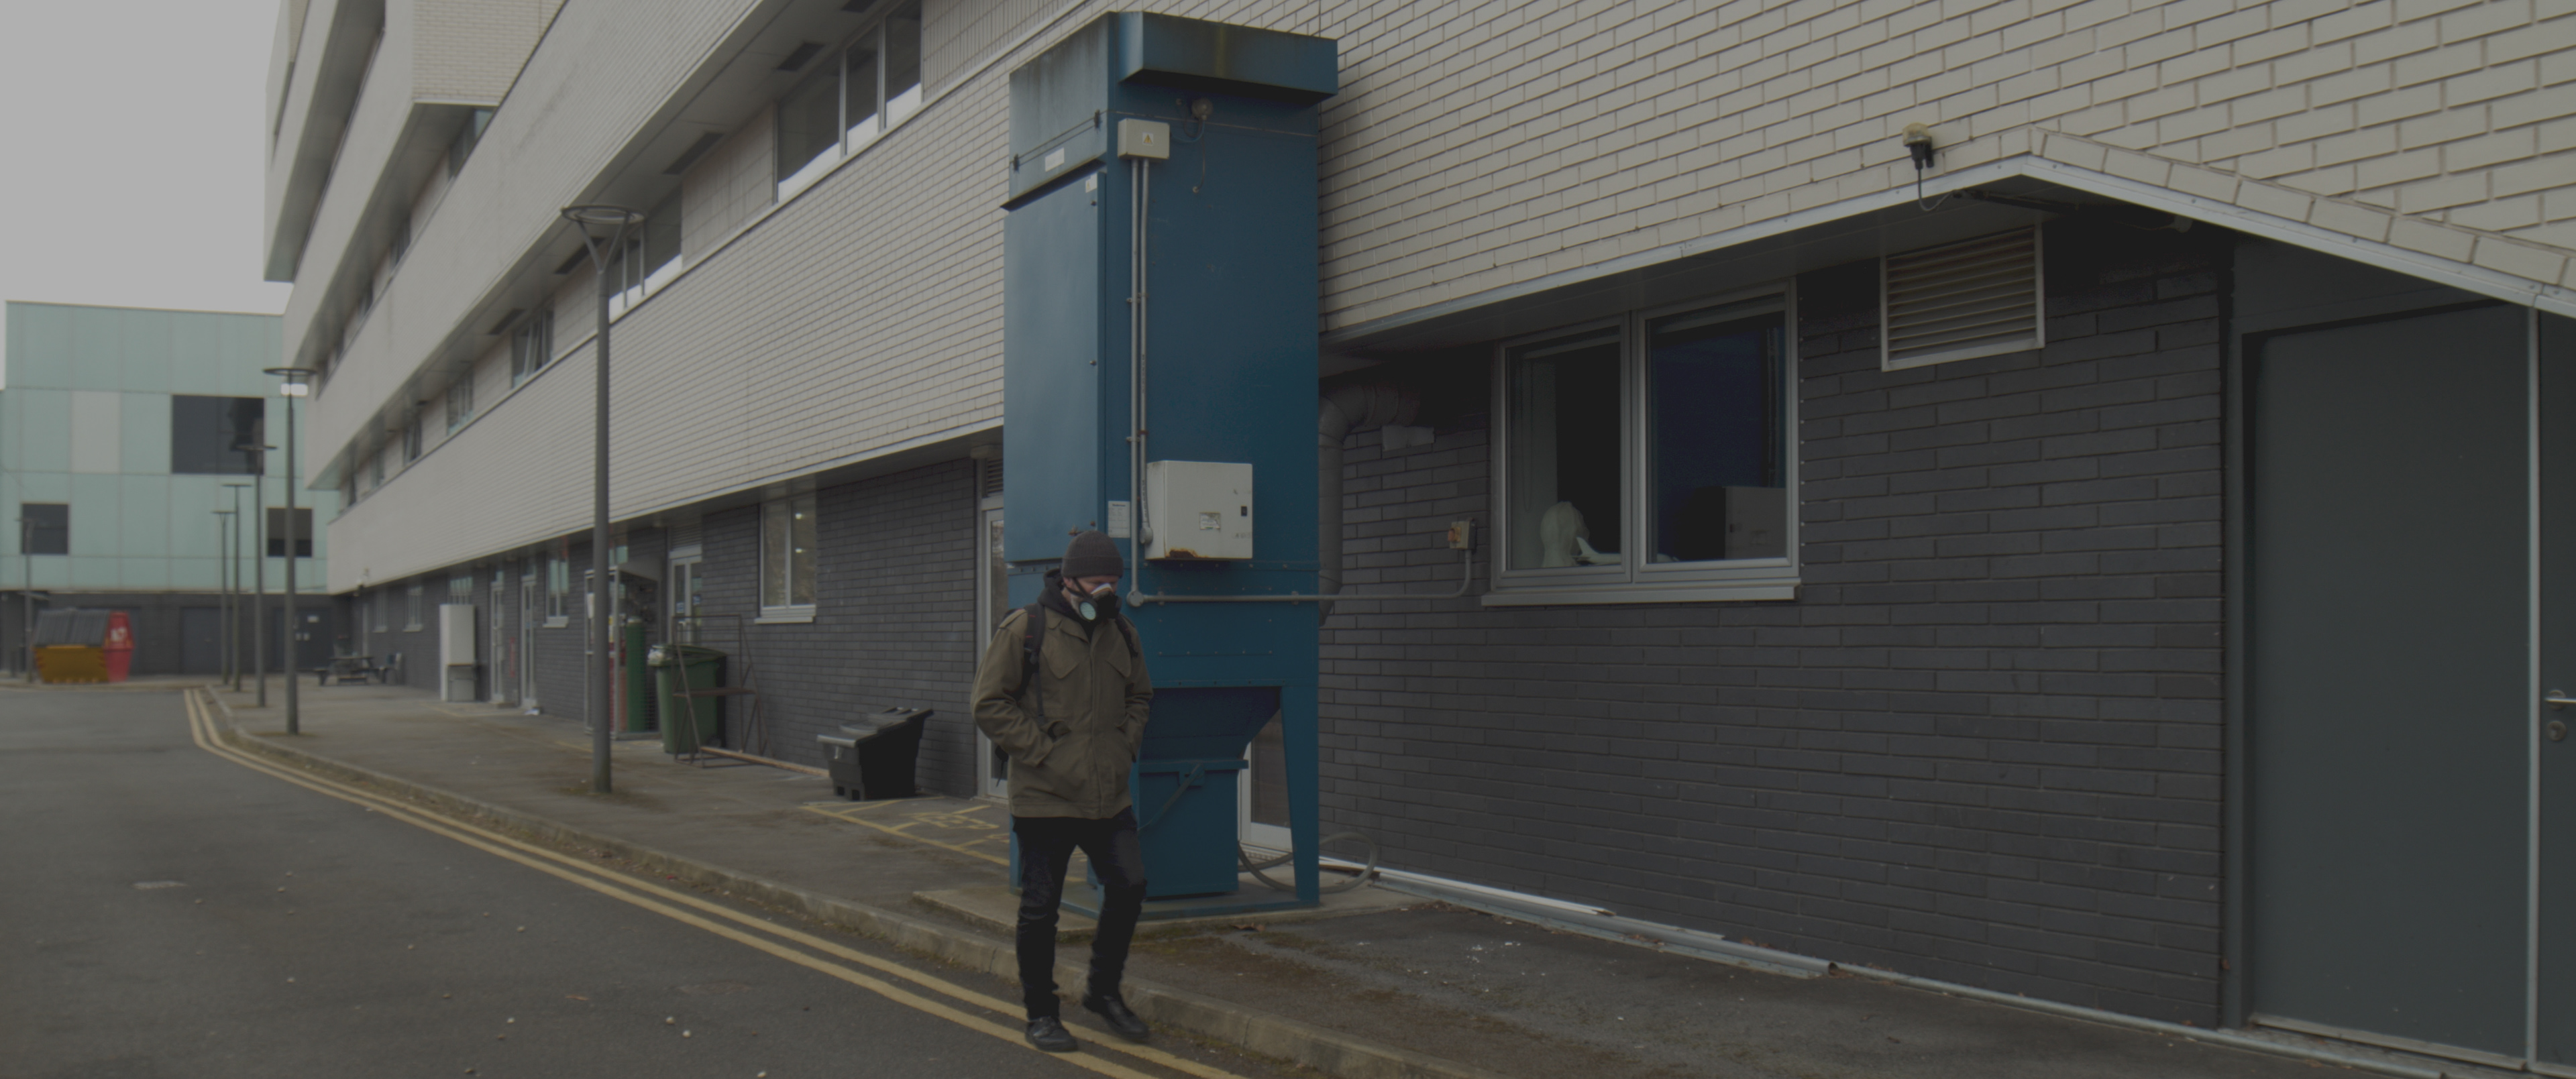
ACES CG to sRGB (IDT) inside Blender
Blender then handled the the IDT of both the footage and any Image Textures or HDRi Lighting capture taken from the shoot (using bracketed exposures shot with the INSTA 360 Camera).
HDRi Lighting Capture
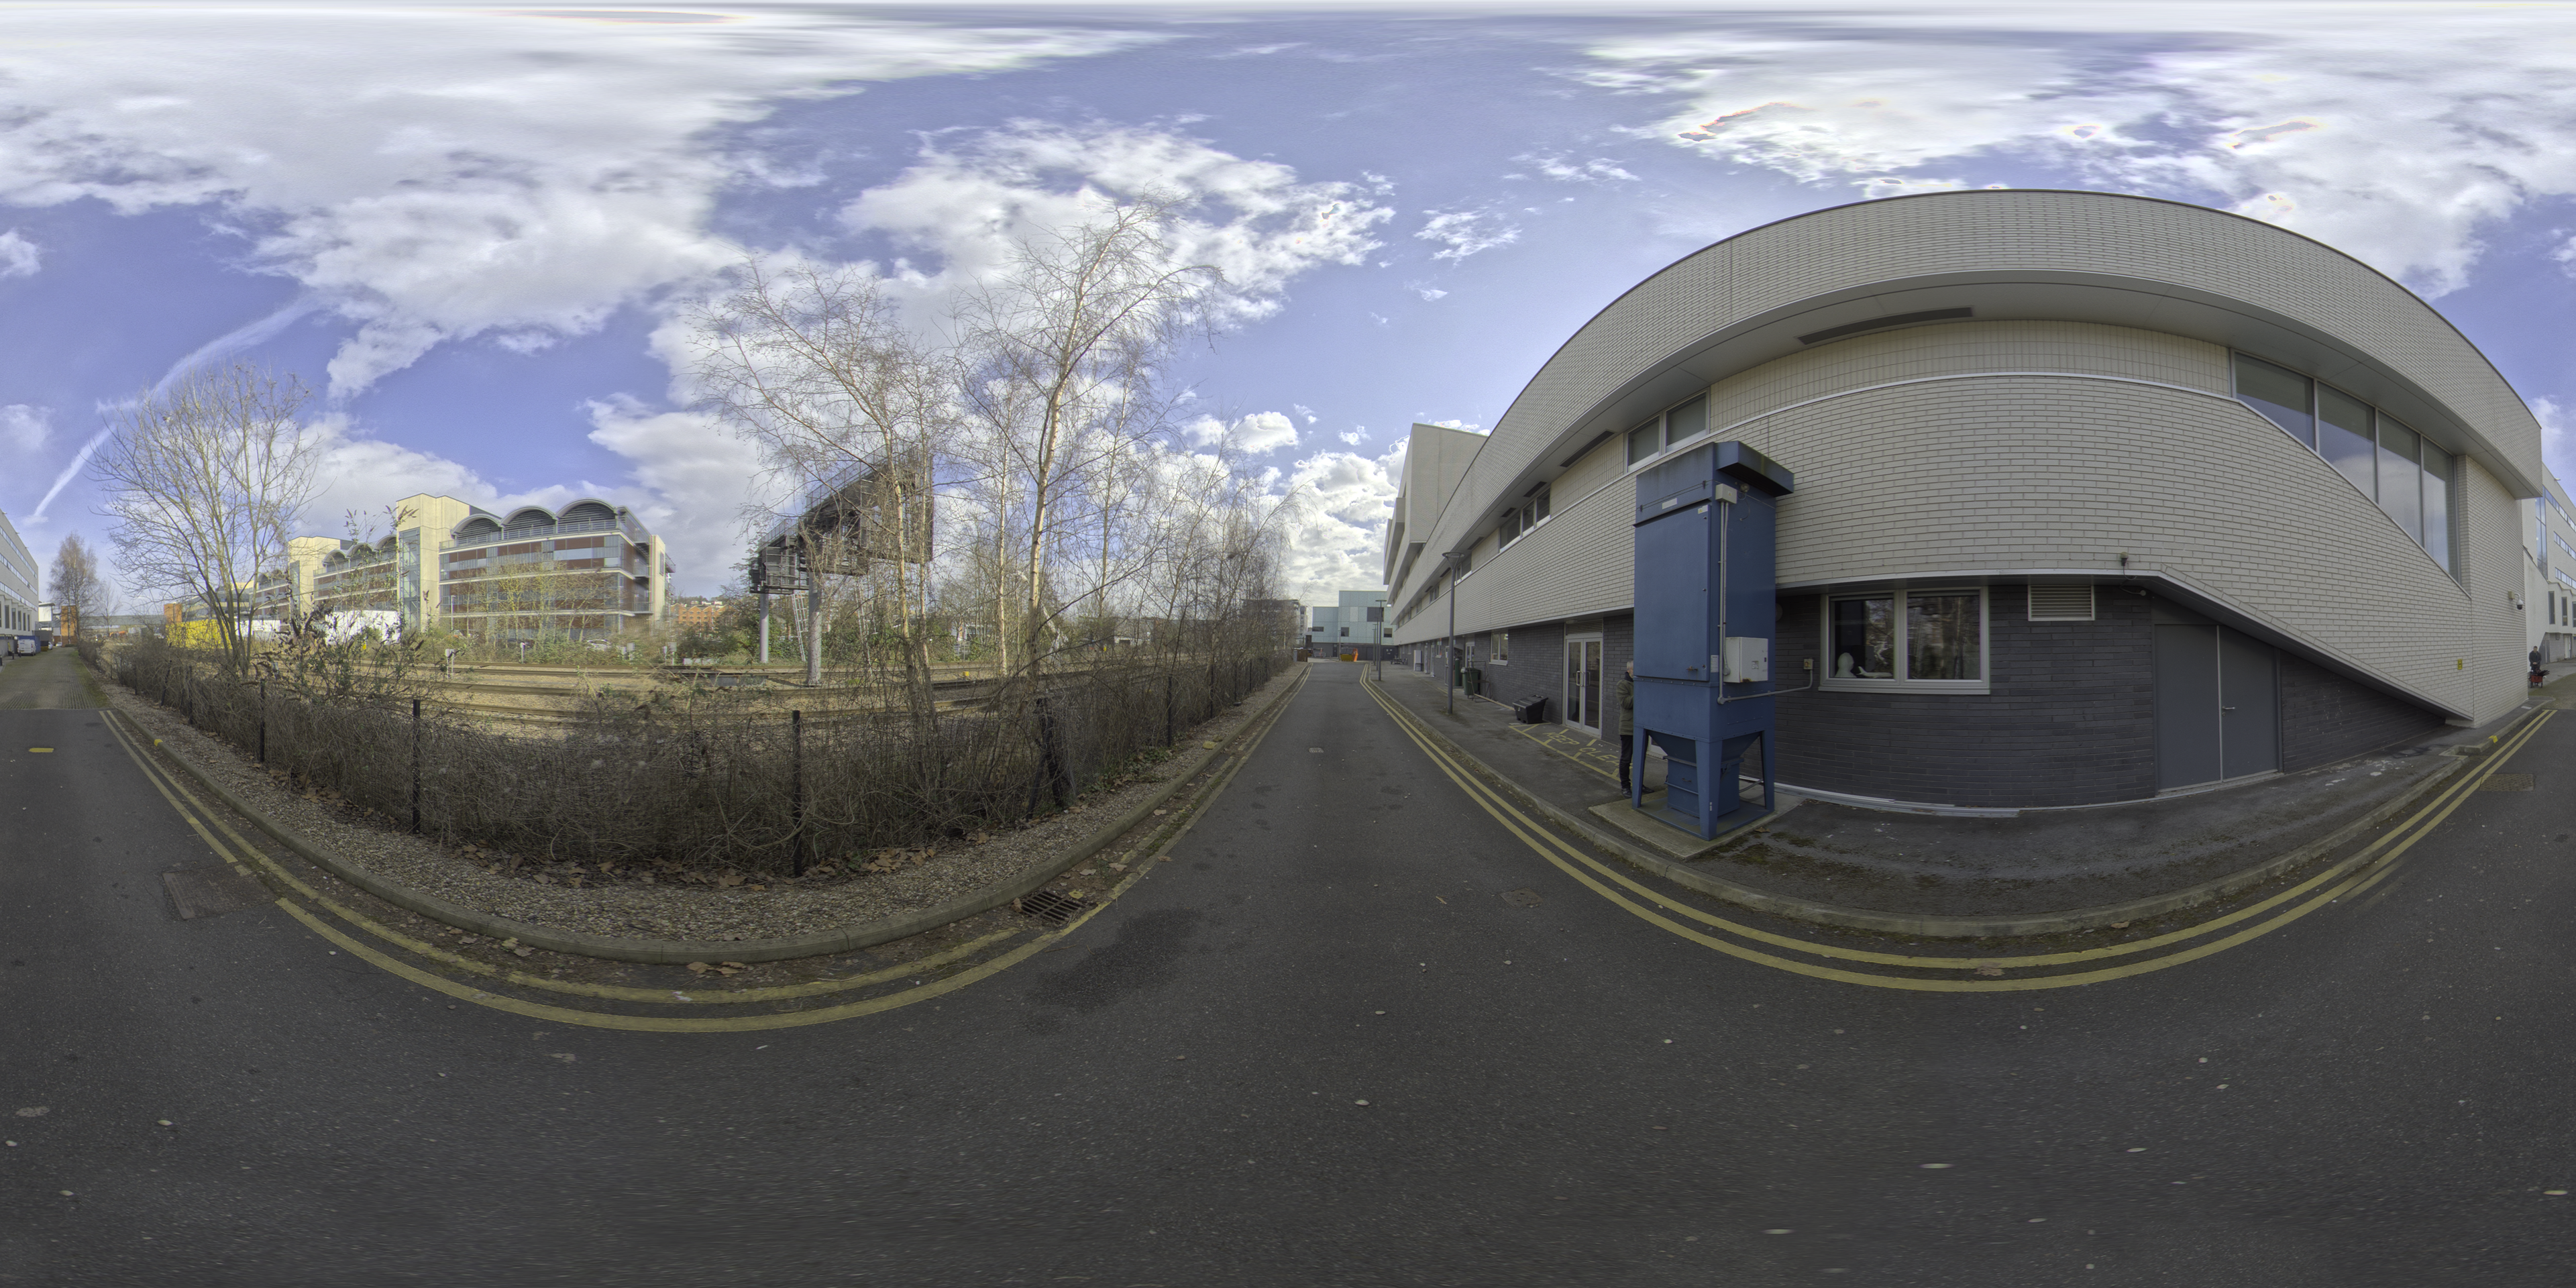
HDRi 360 Capture (Tone Mapped Example)
This workflow had proved to be invaluable on my last two features allowing Blender 3D to fully integrate into an established ACES colour management pipeline, a knowledge of which was invaluable for our students.
Additionally, this exercise helped to solidify and make links to Technical theory modules that I lead, where the concept of colour management is introduced. Conventional 3D modelling, matchmove, texturing and compositing techniques were then used to build varied and custom versions of the scene, bespoke to each student.
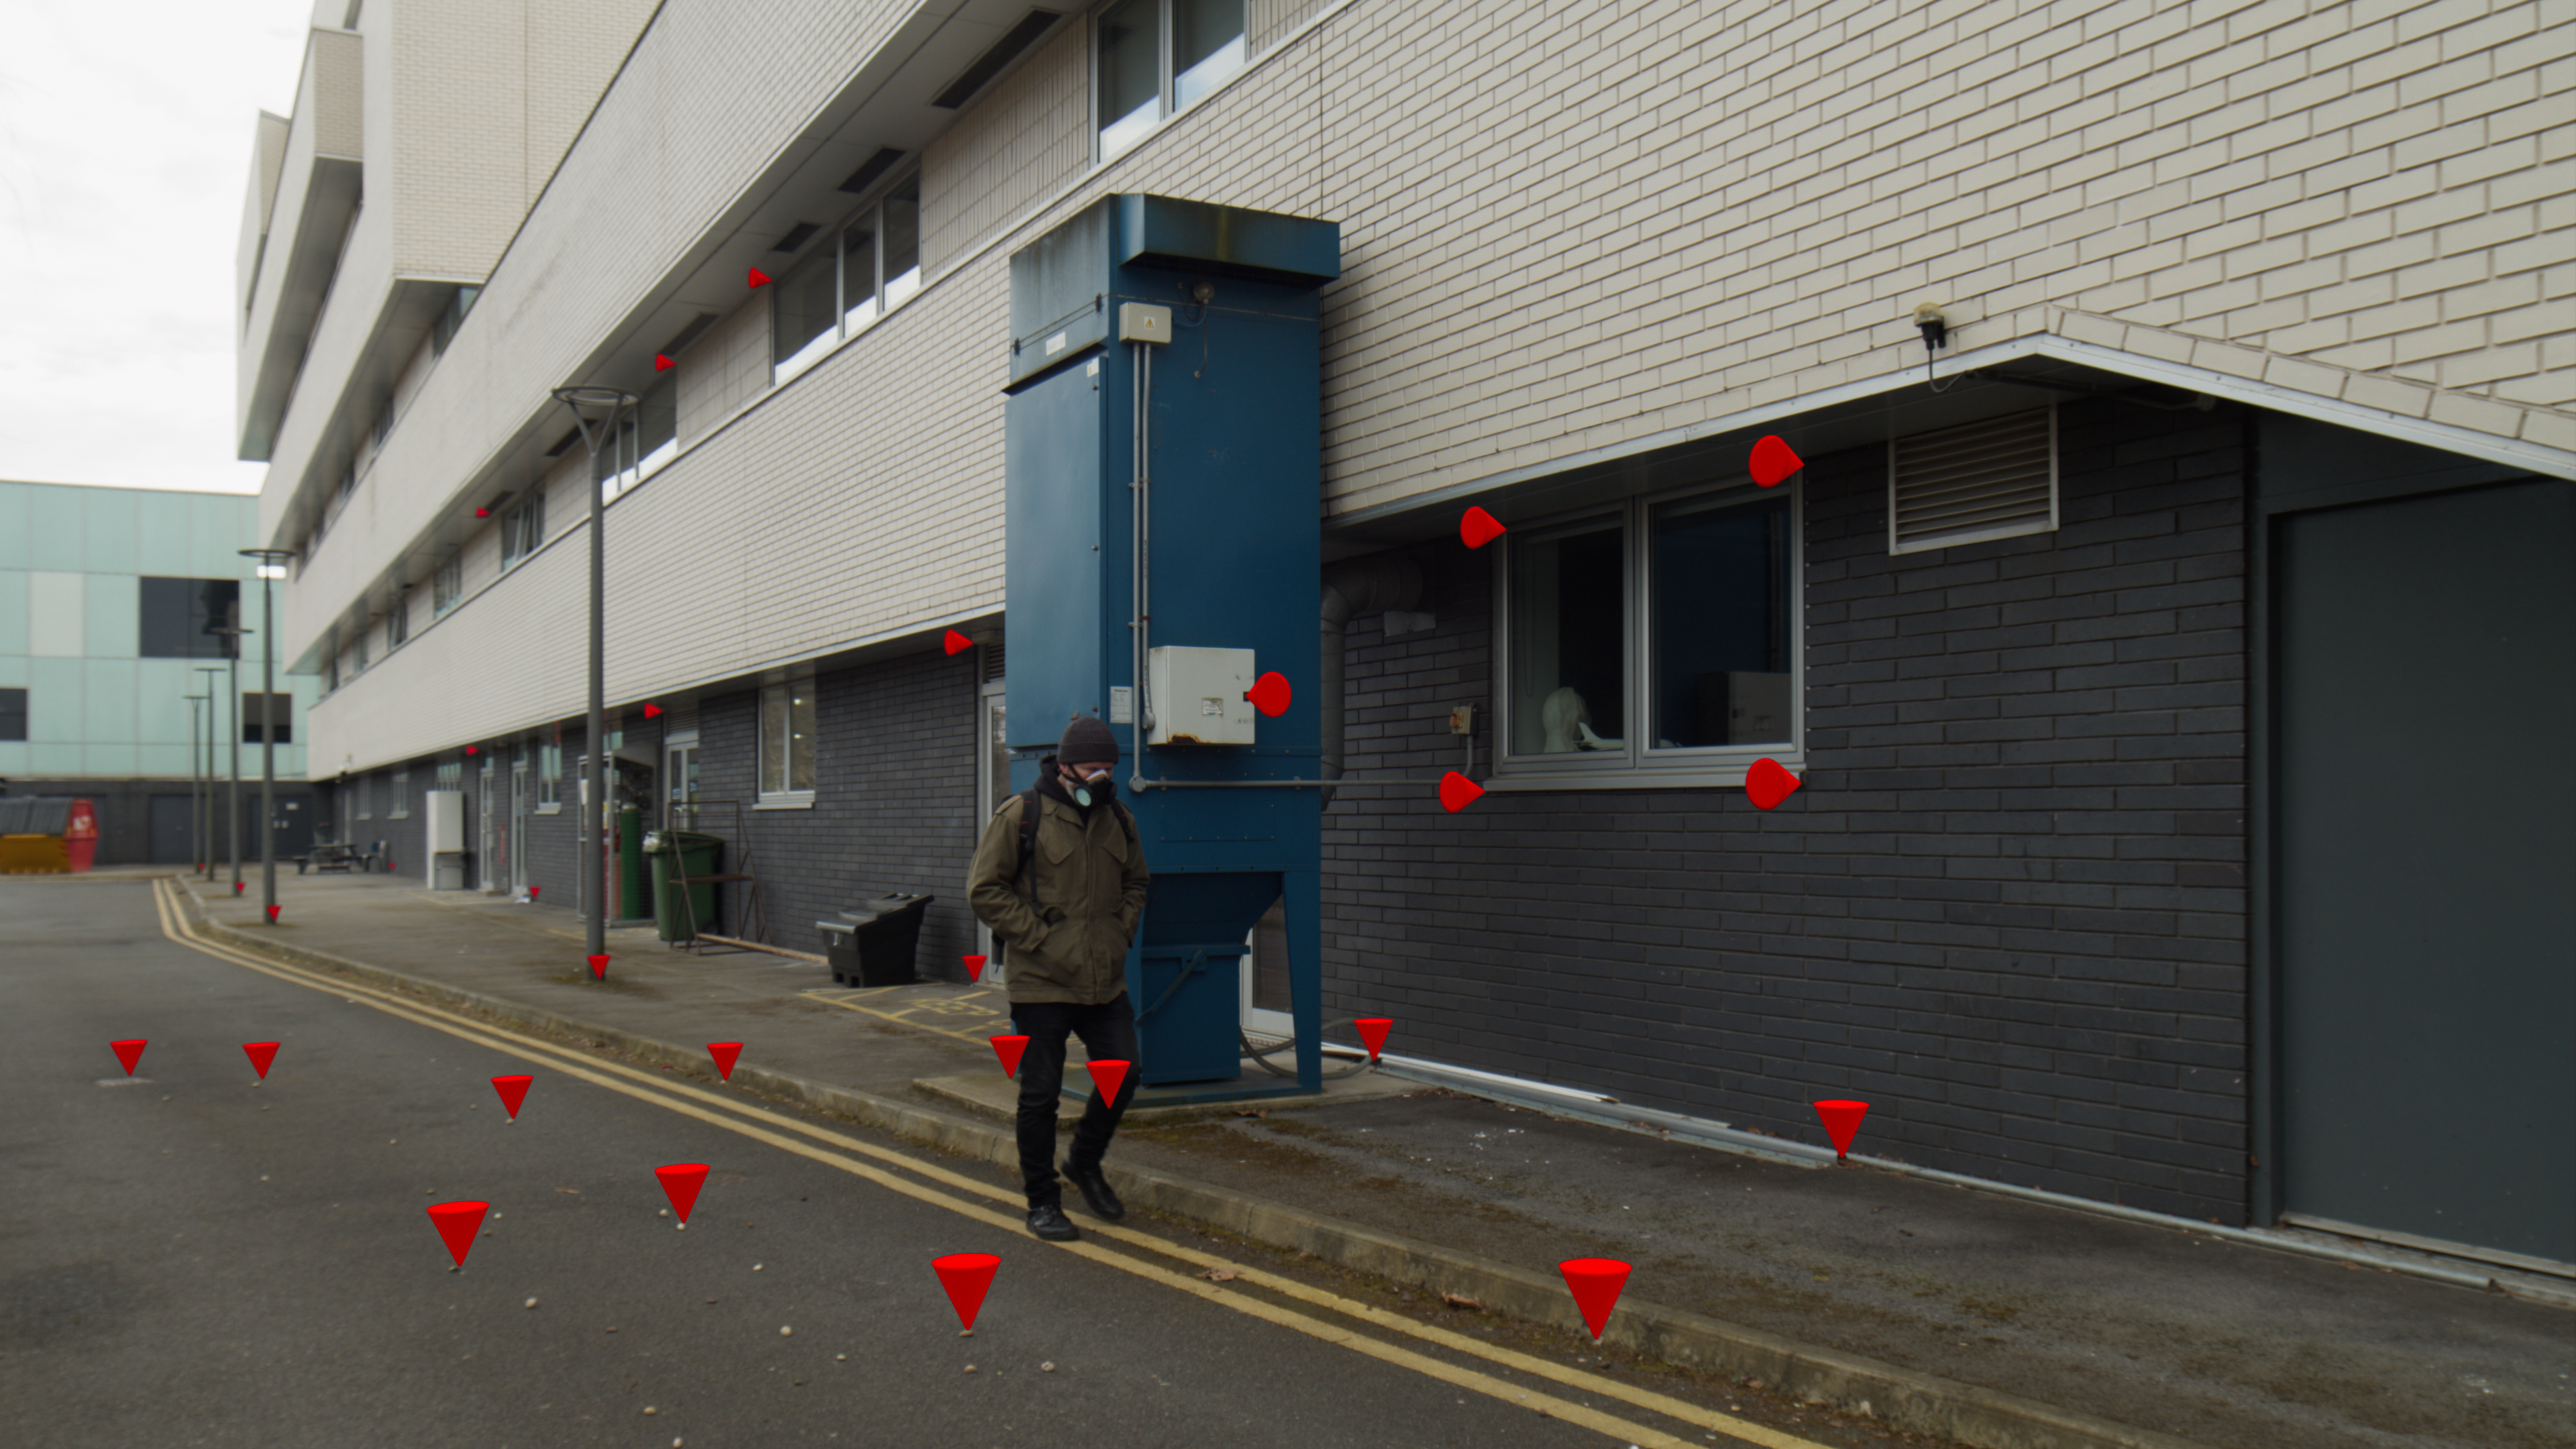
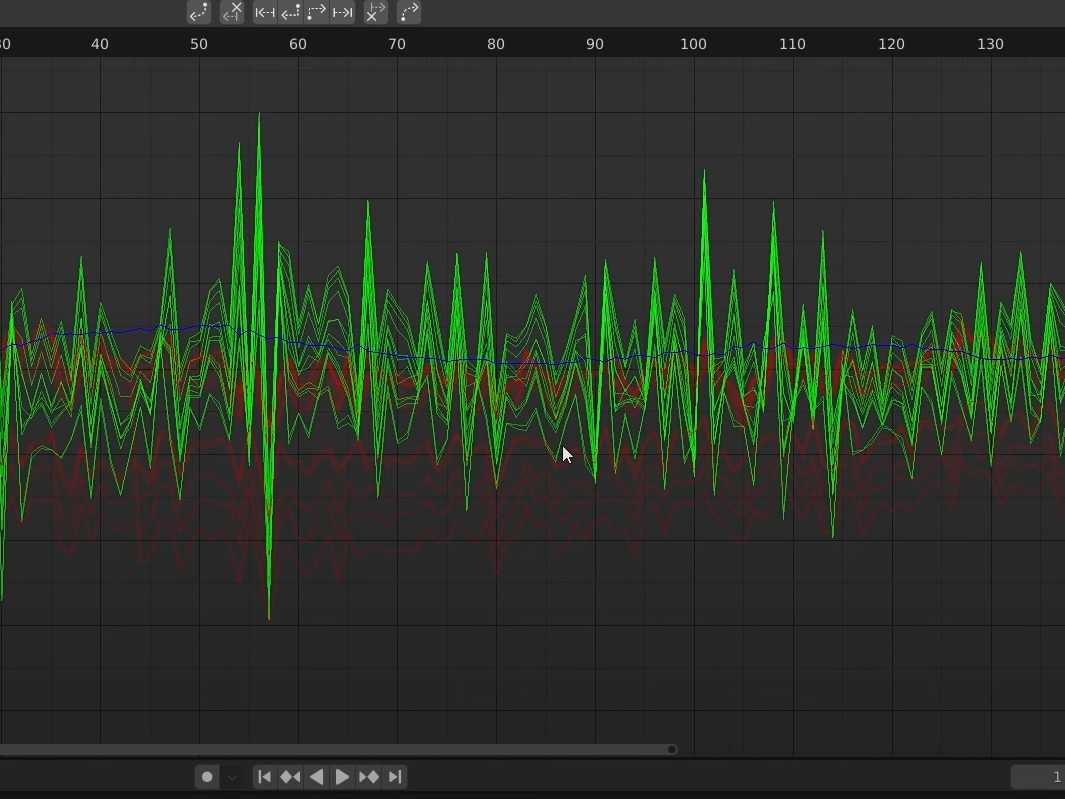
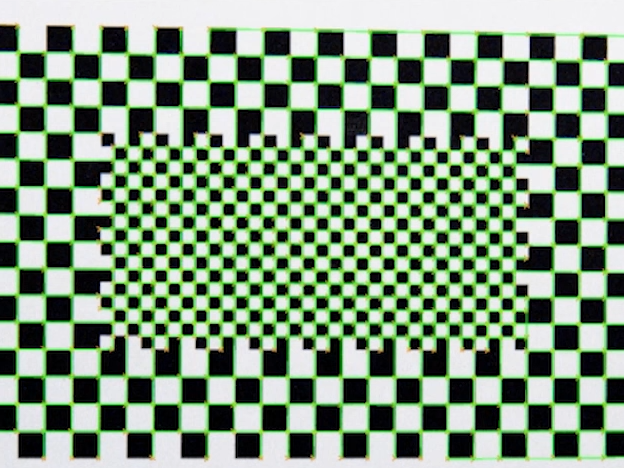
Matchmove (Track and Solve)
Matchmove (Reconstruction)
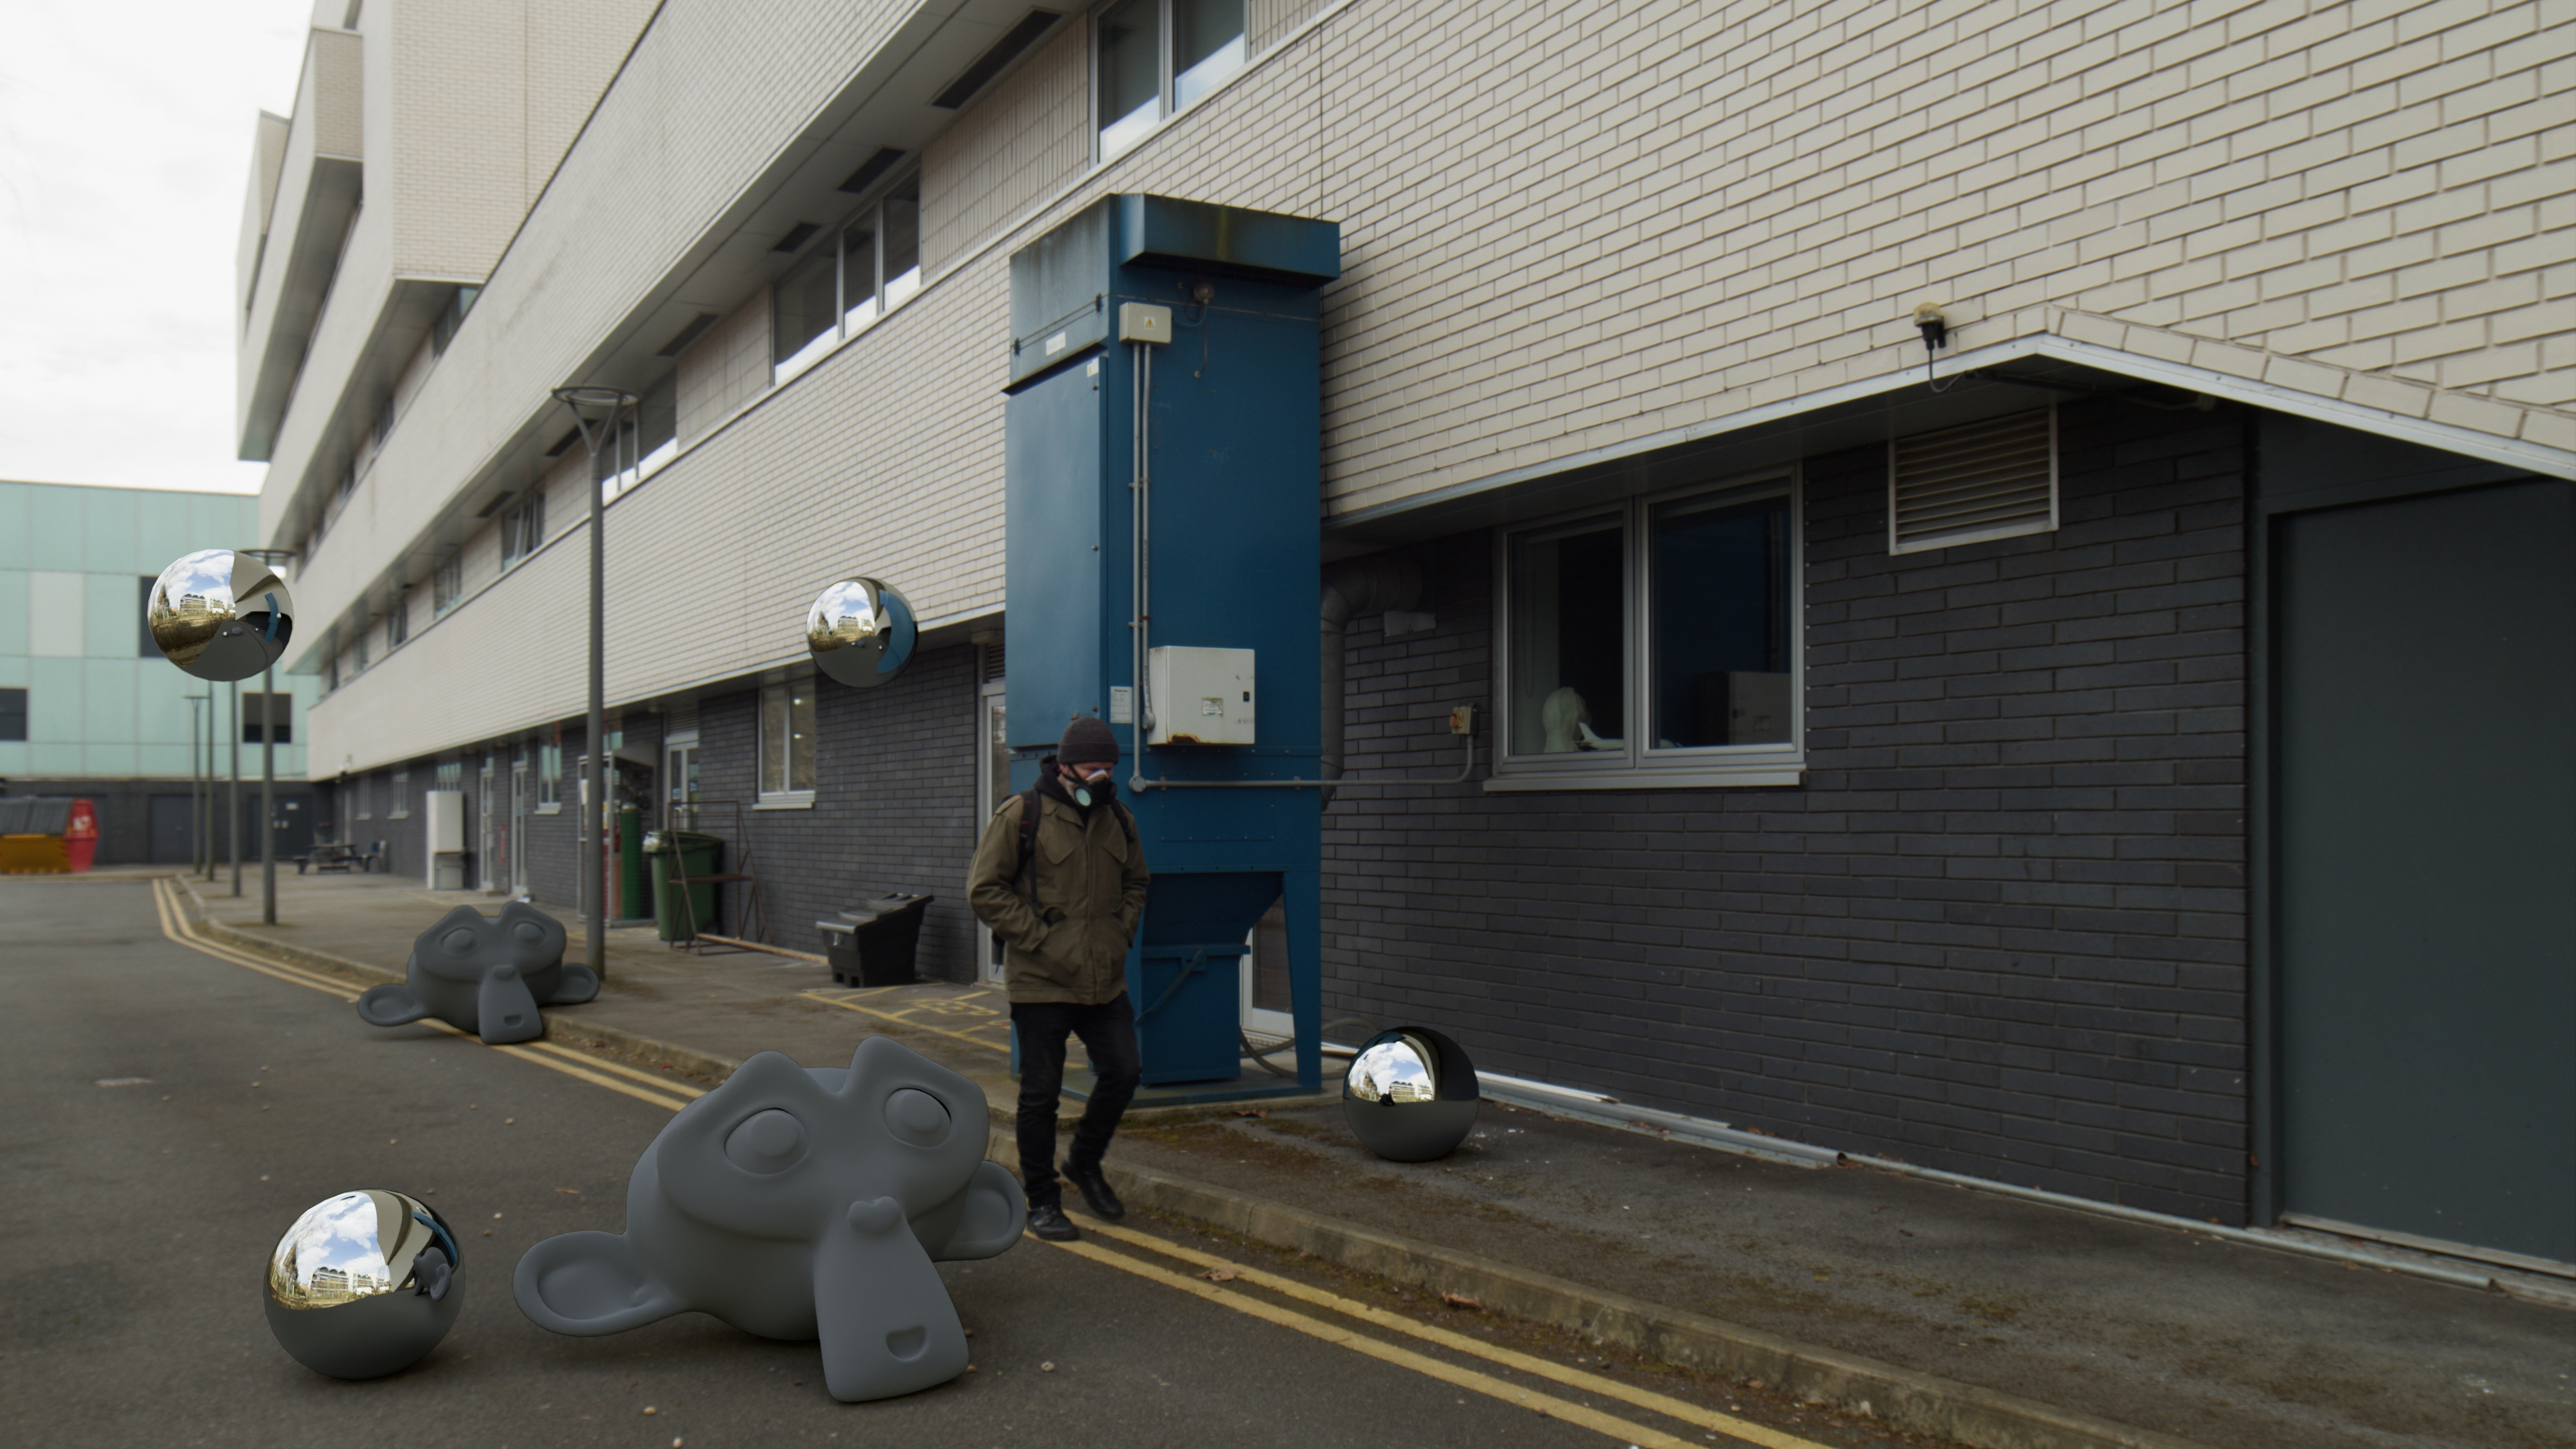
Lighting Set-Up using HDRi Capture and Custom Shadow catchers
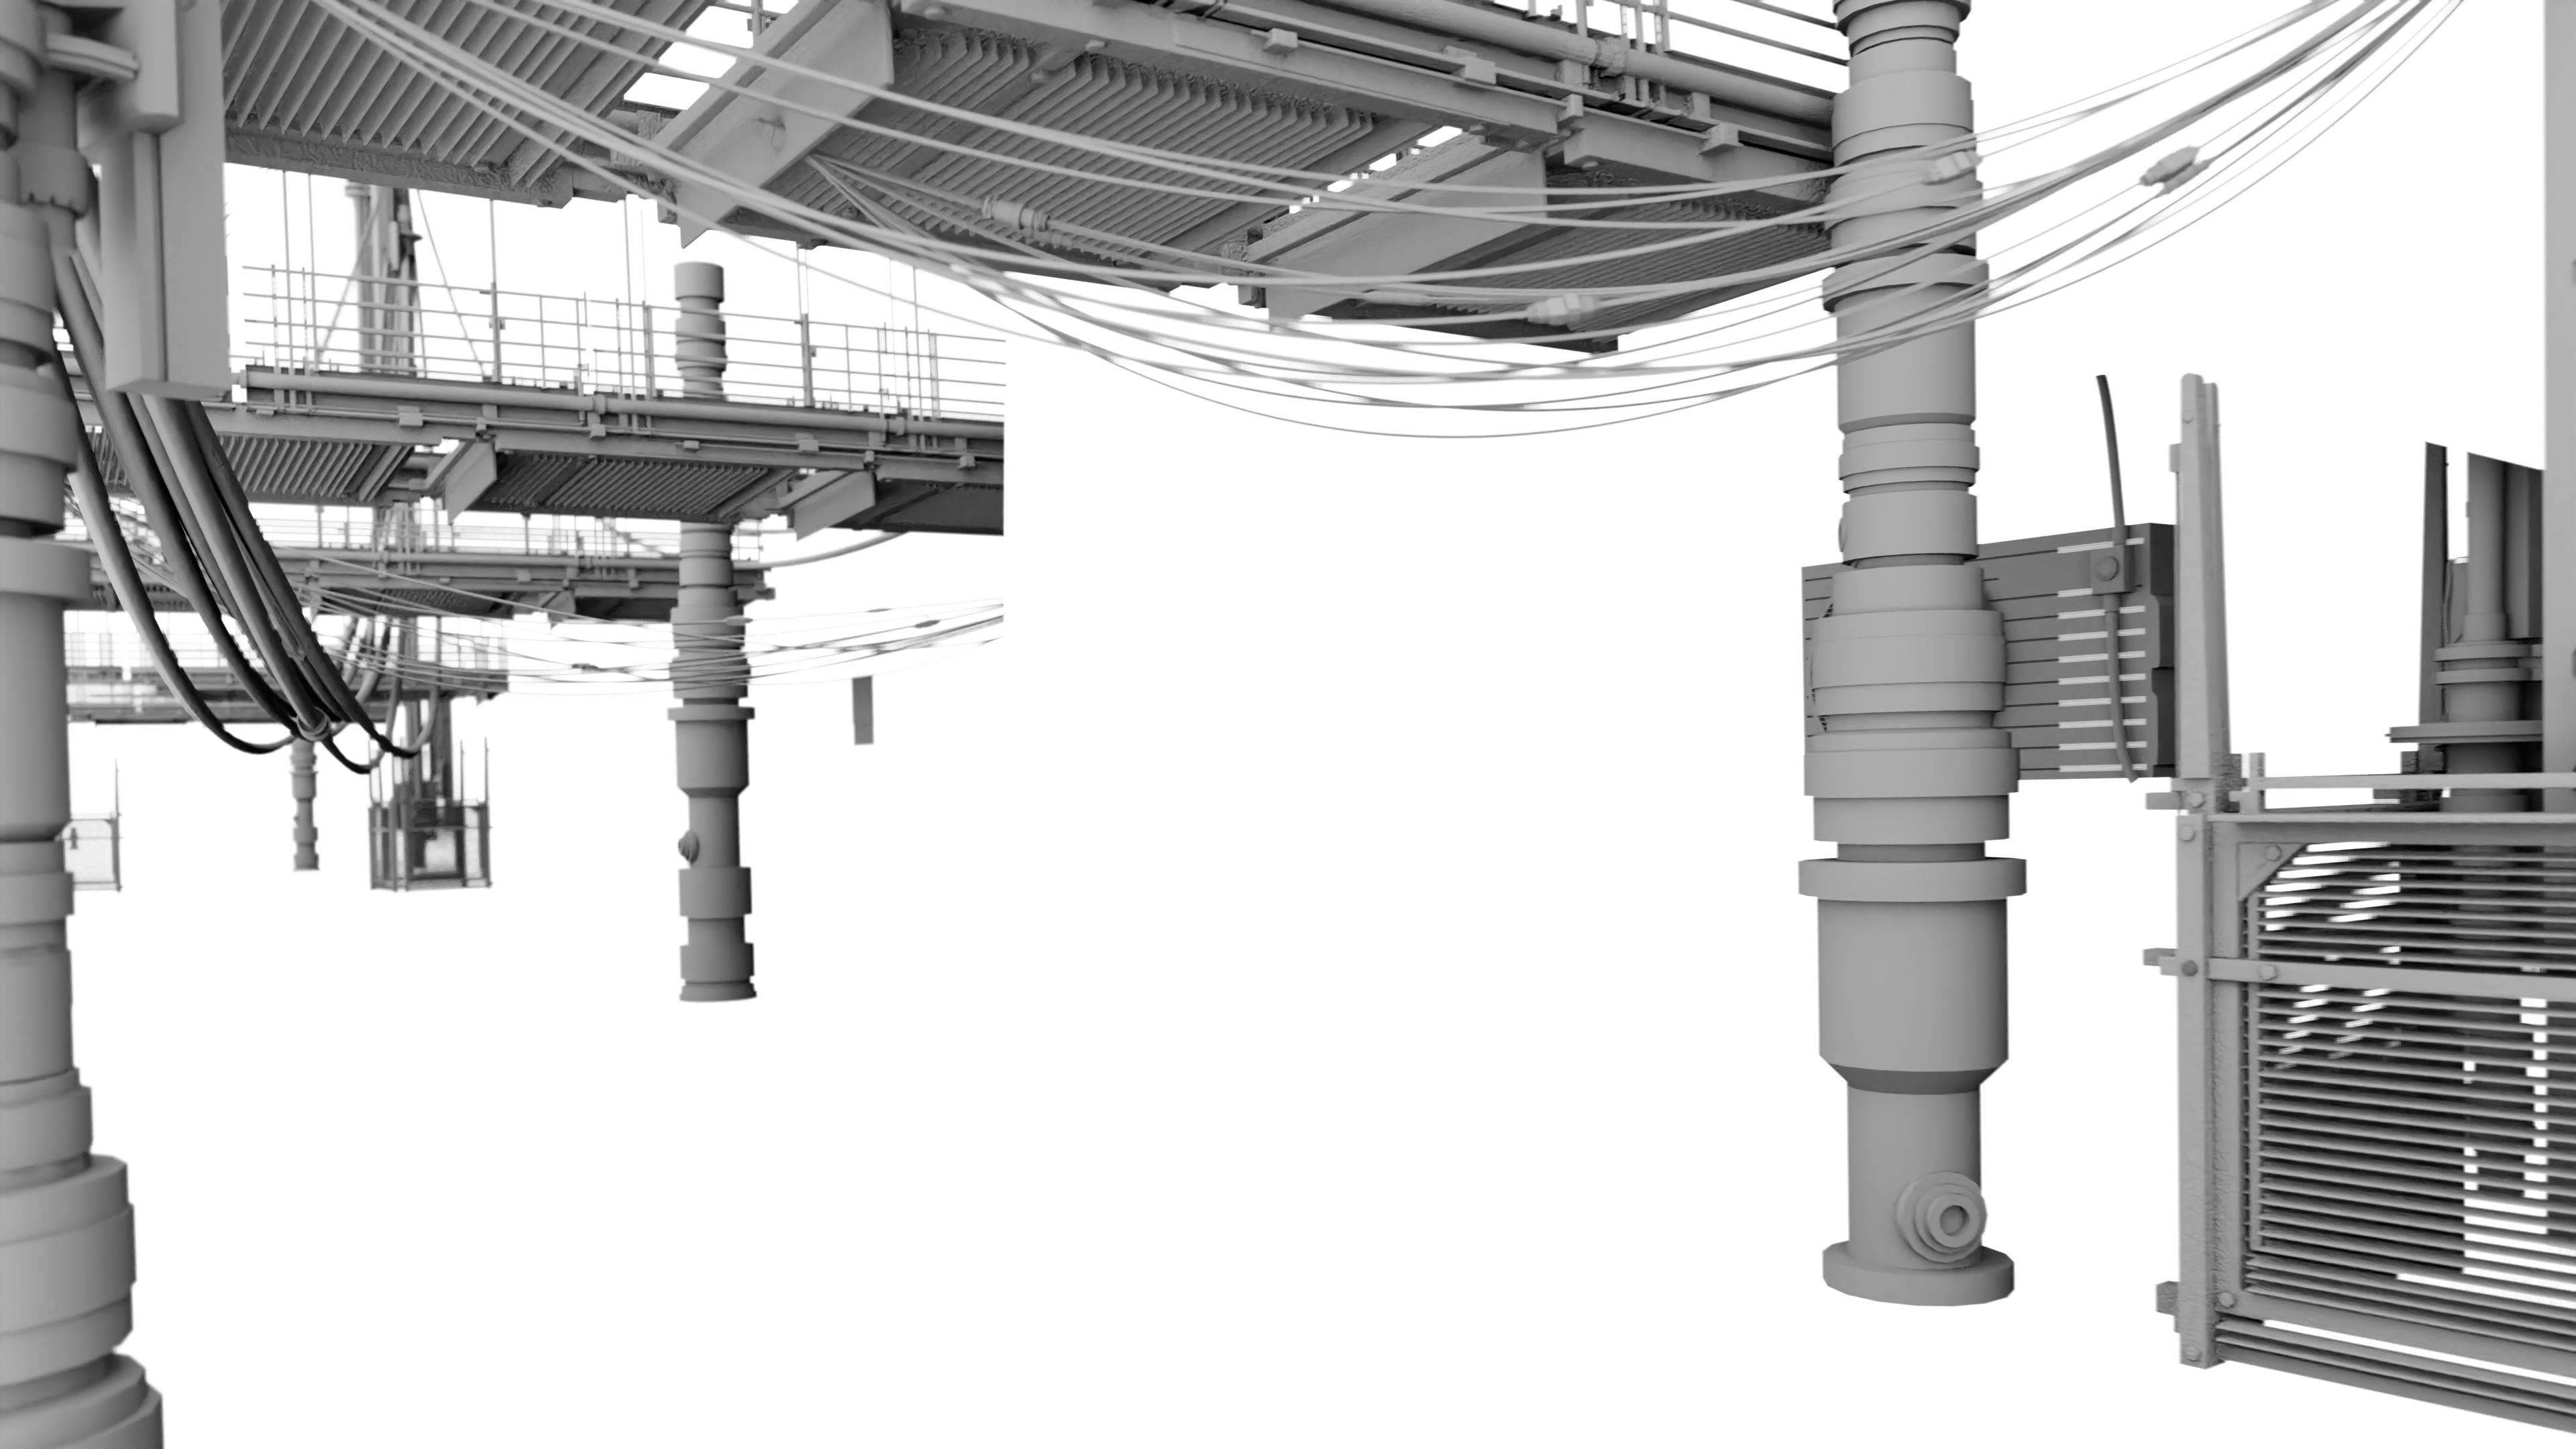
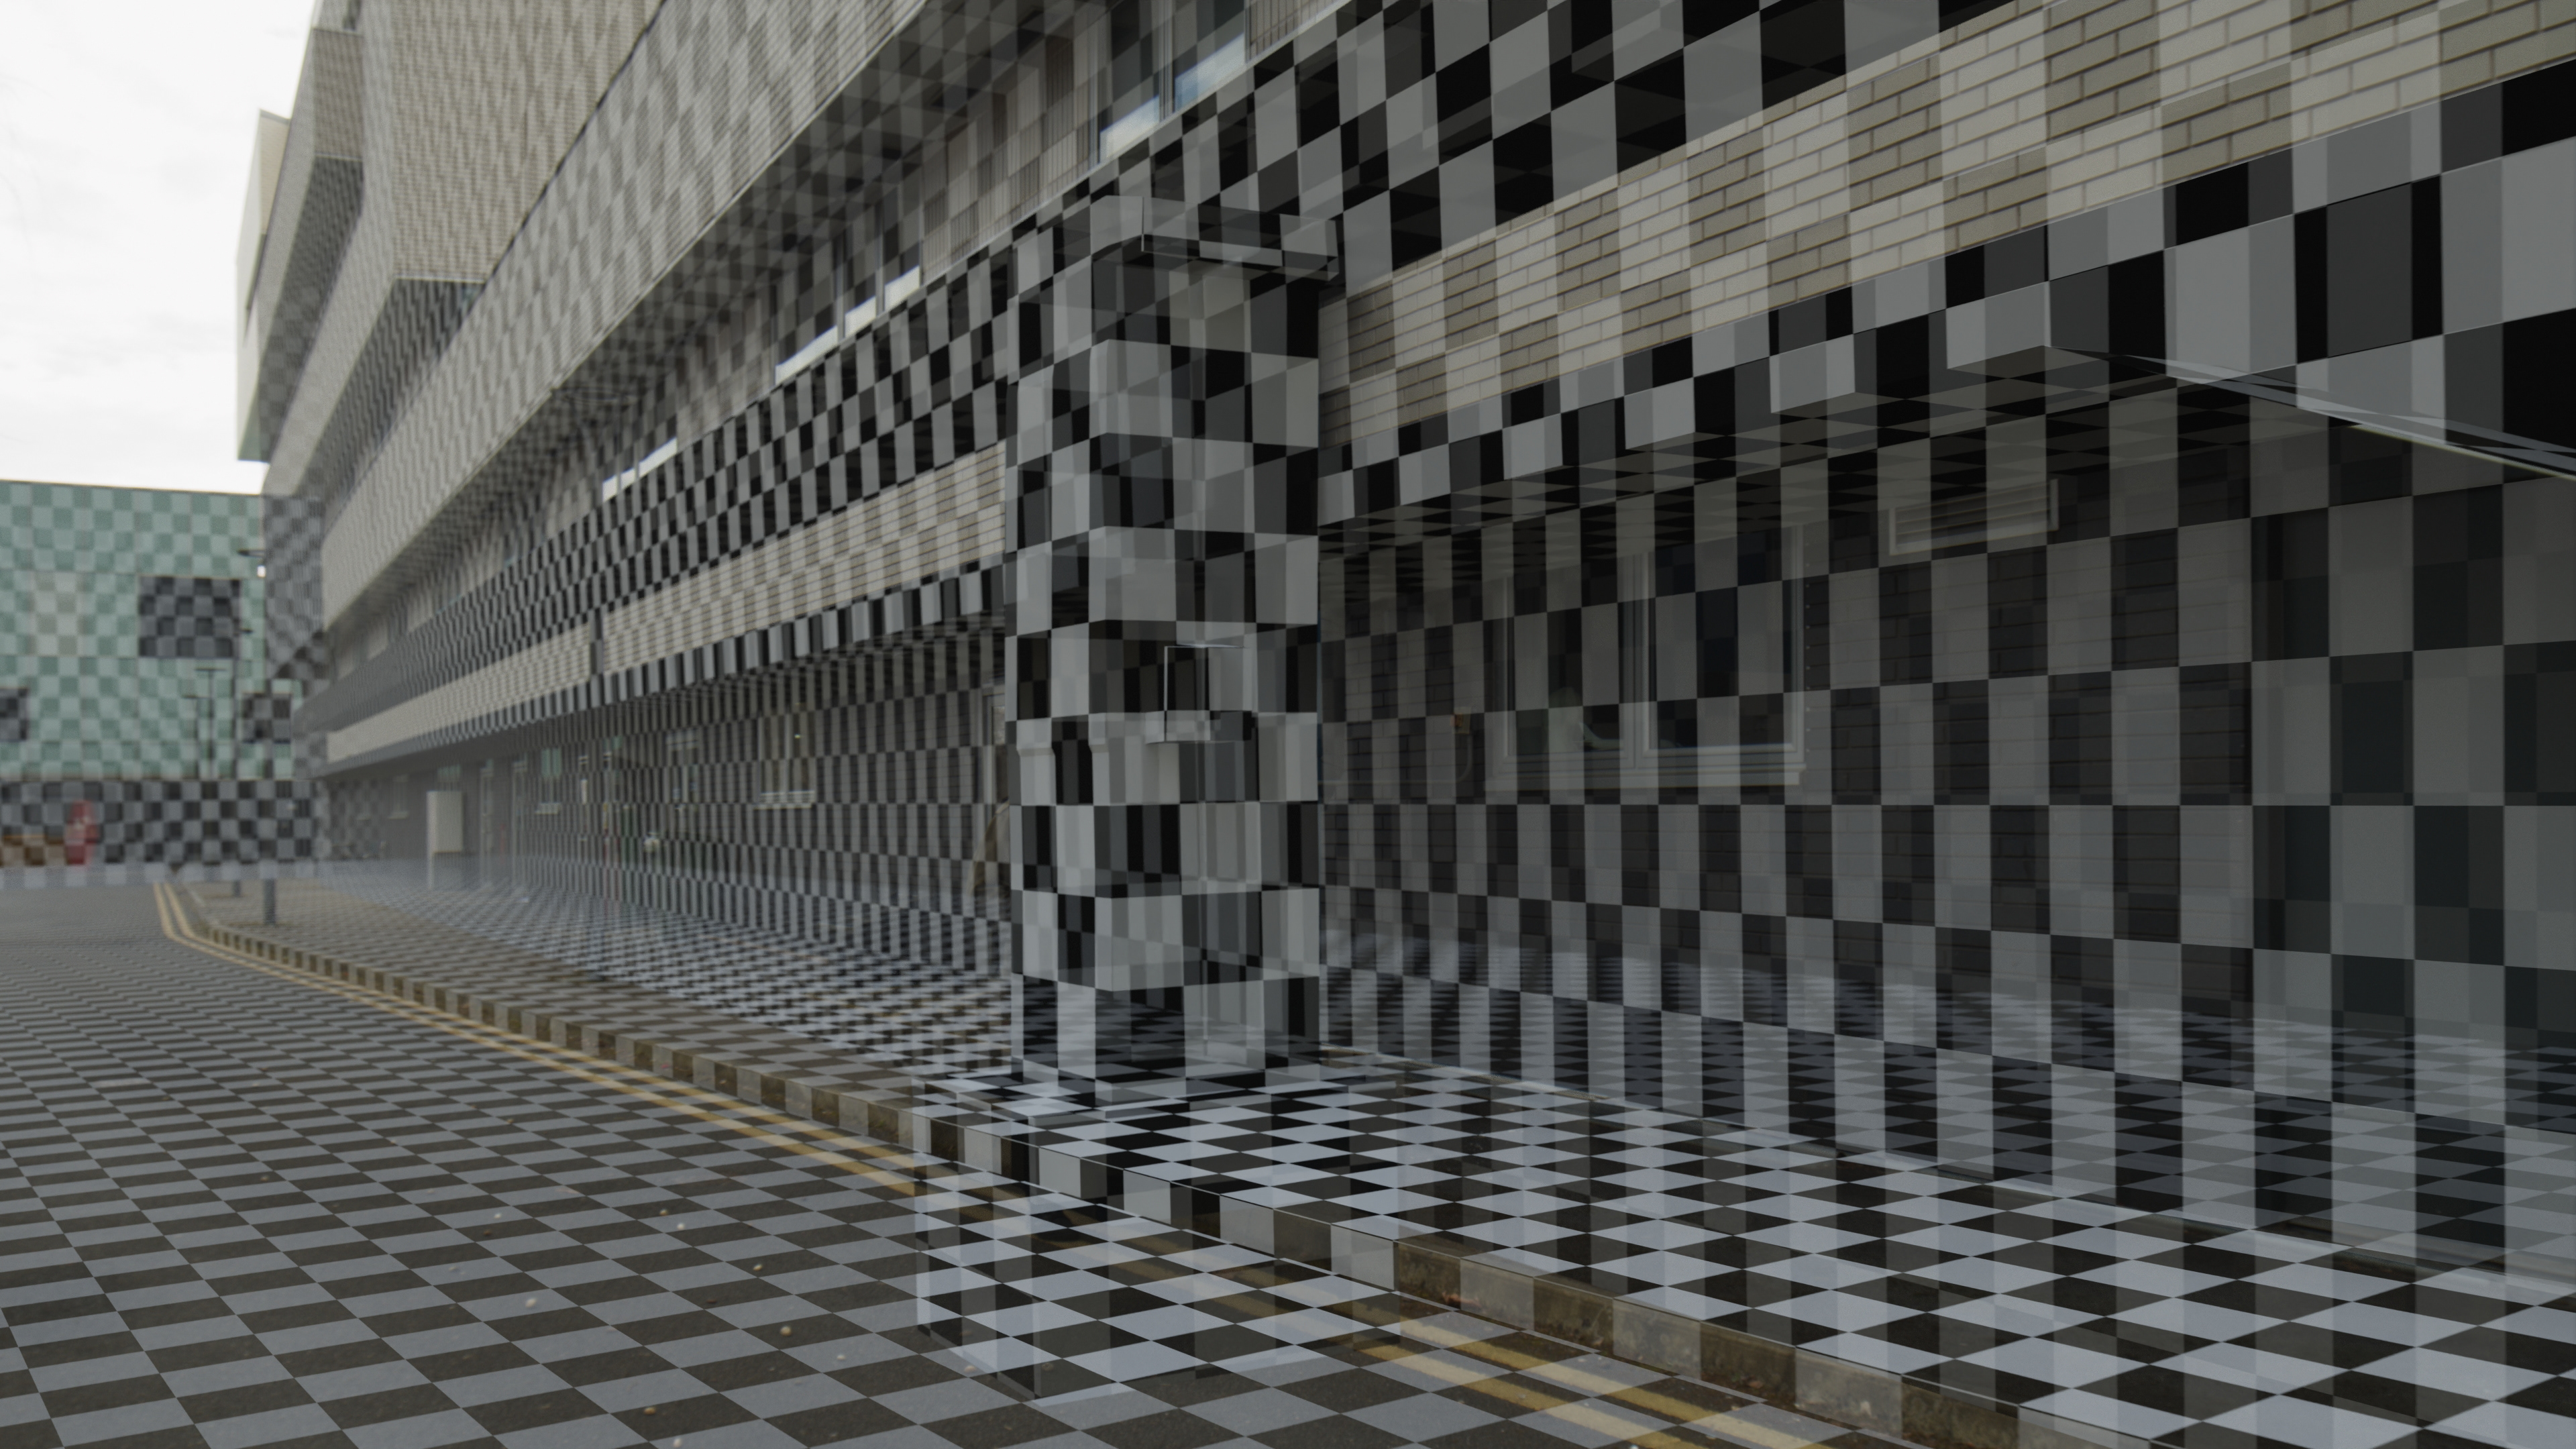
AO/Clay Blockout of Geometry
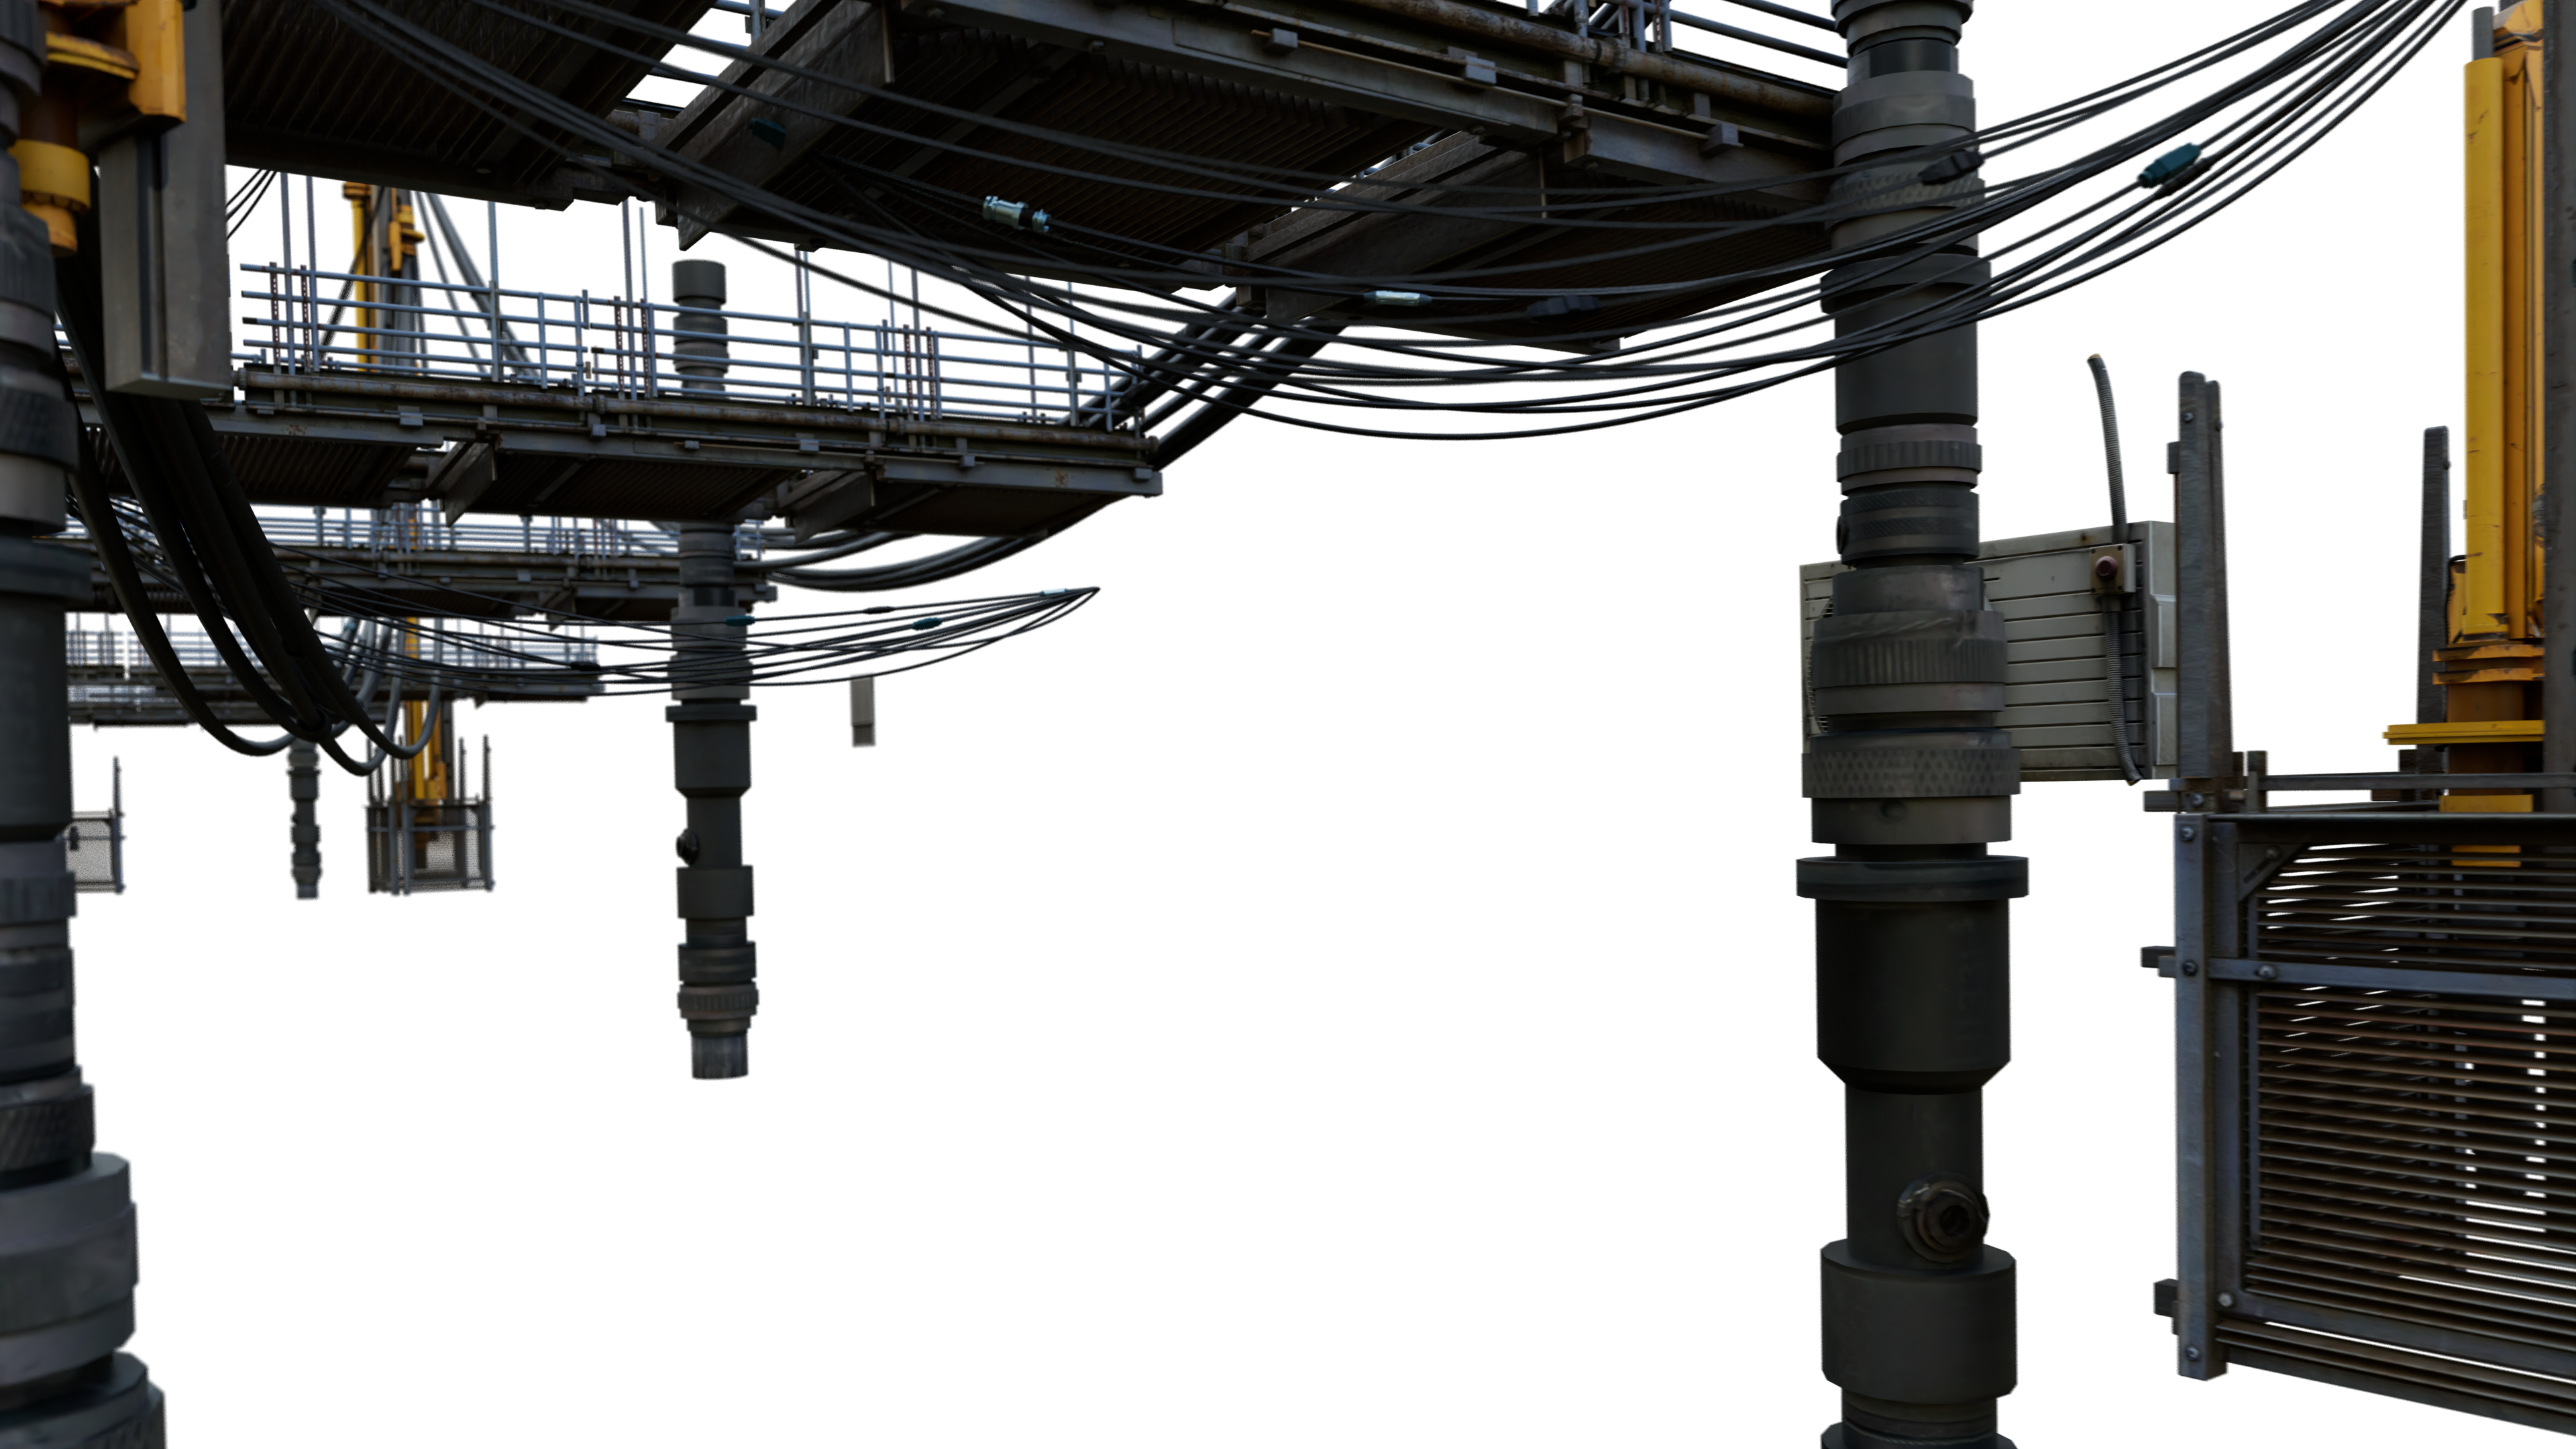
Textures added using ACES IDTs
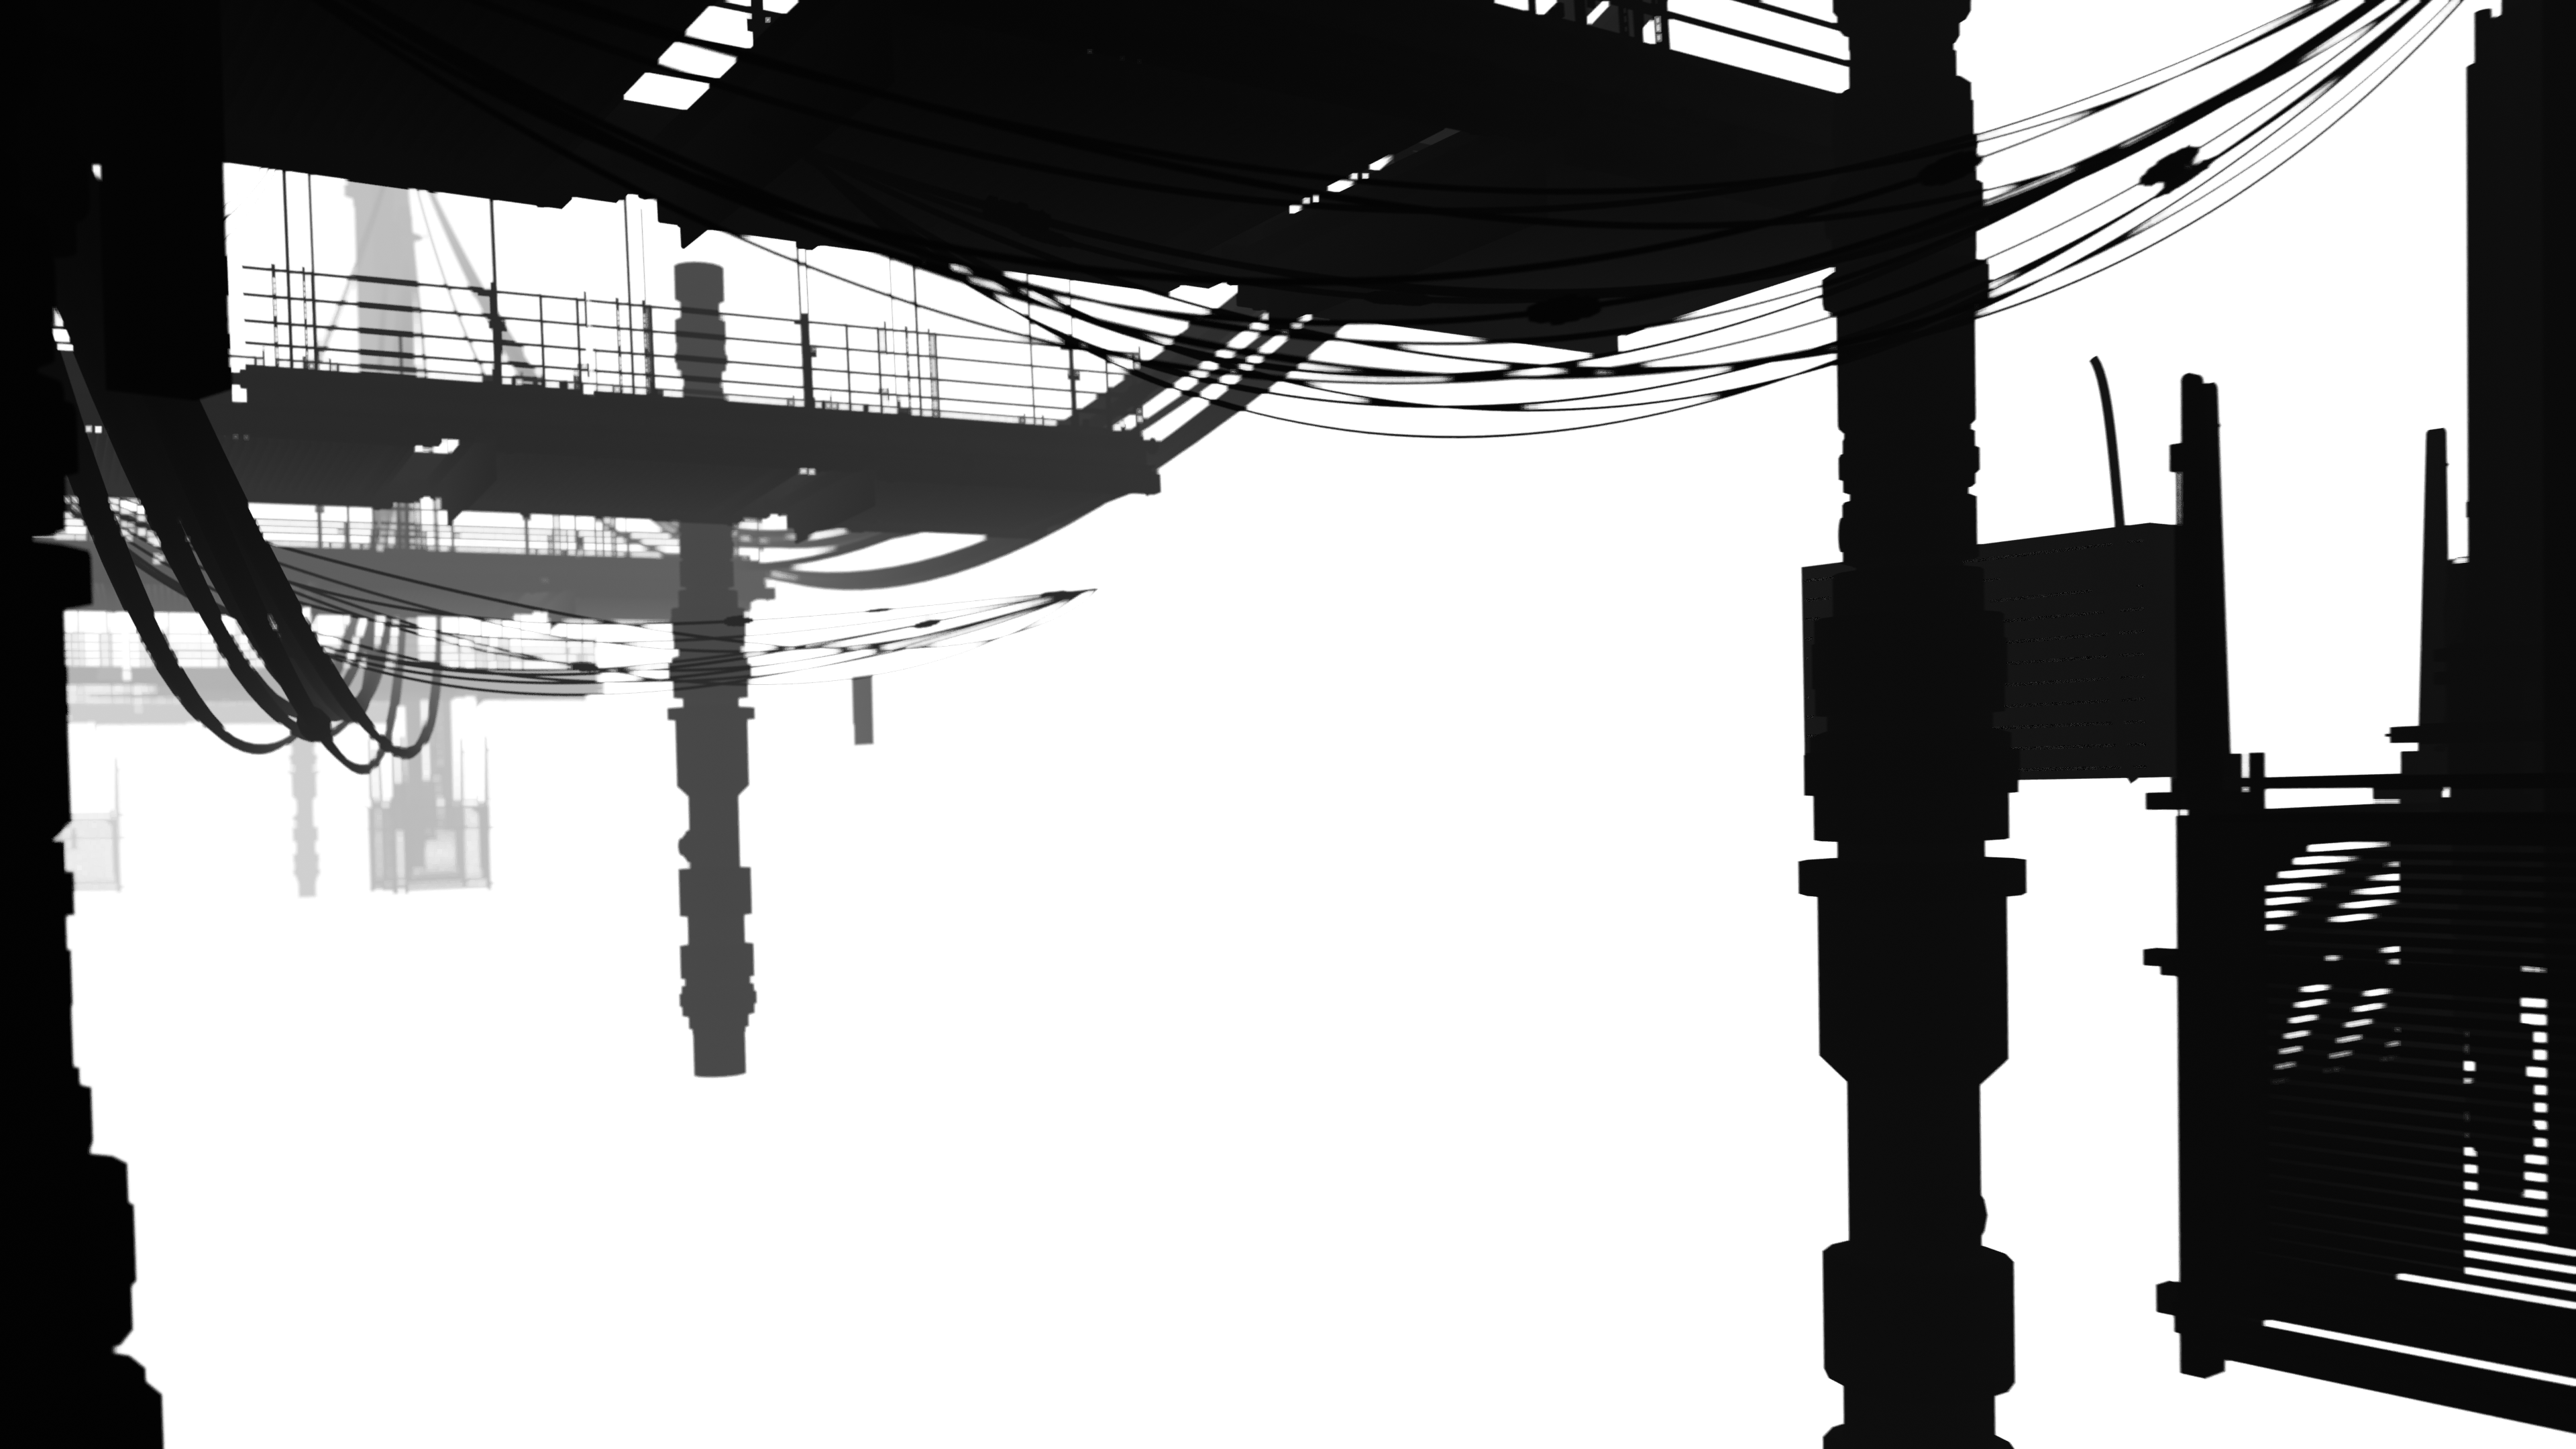
z-Depth/Mist Pass to Comp. Depth of Field and Atmospheric Perspective
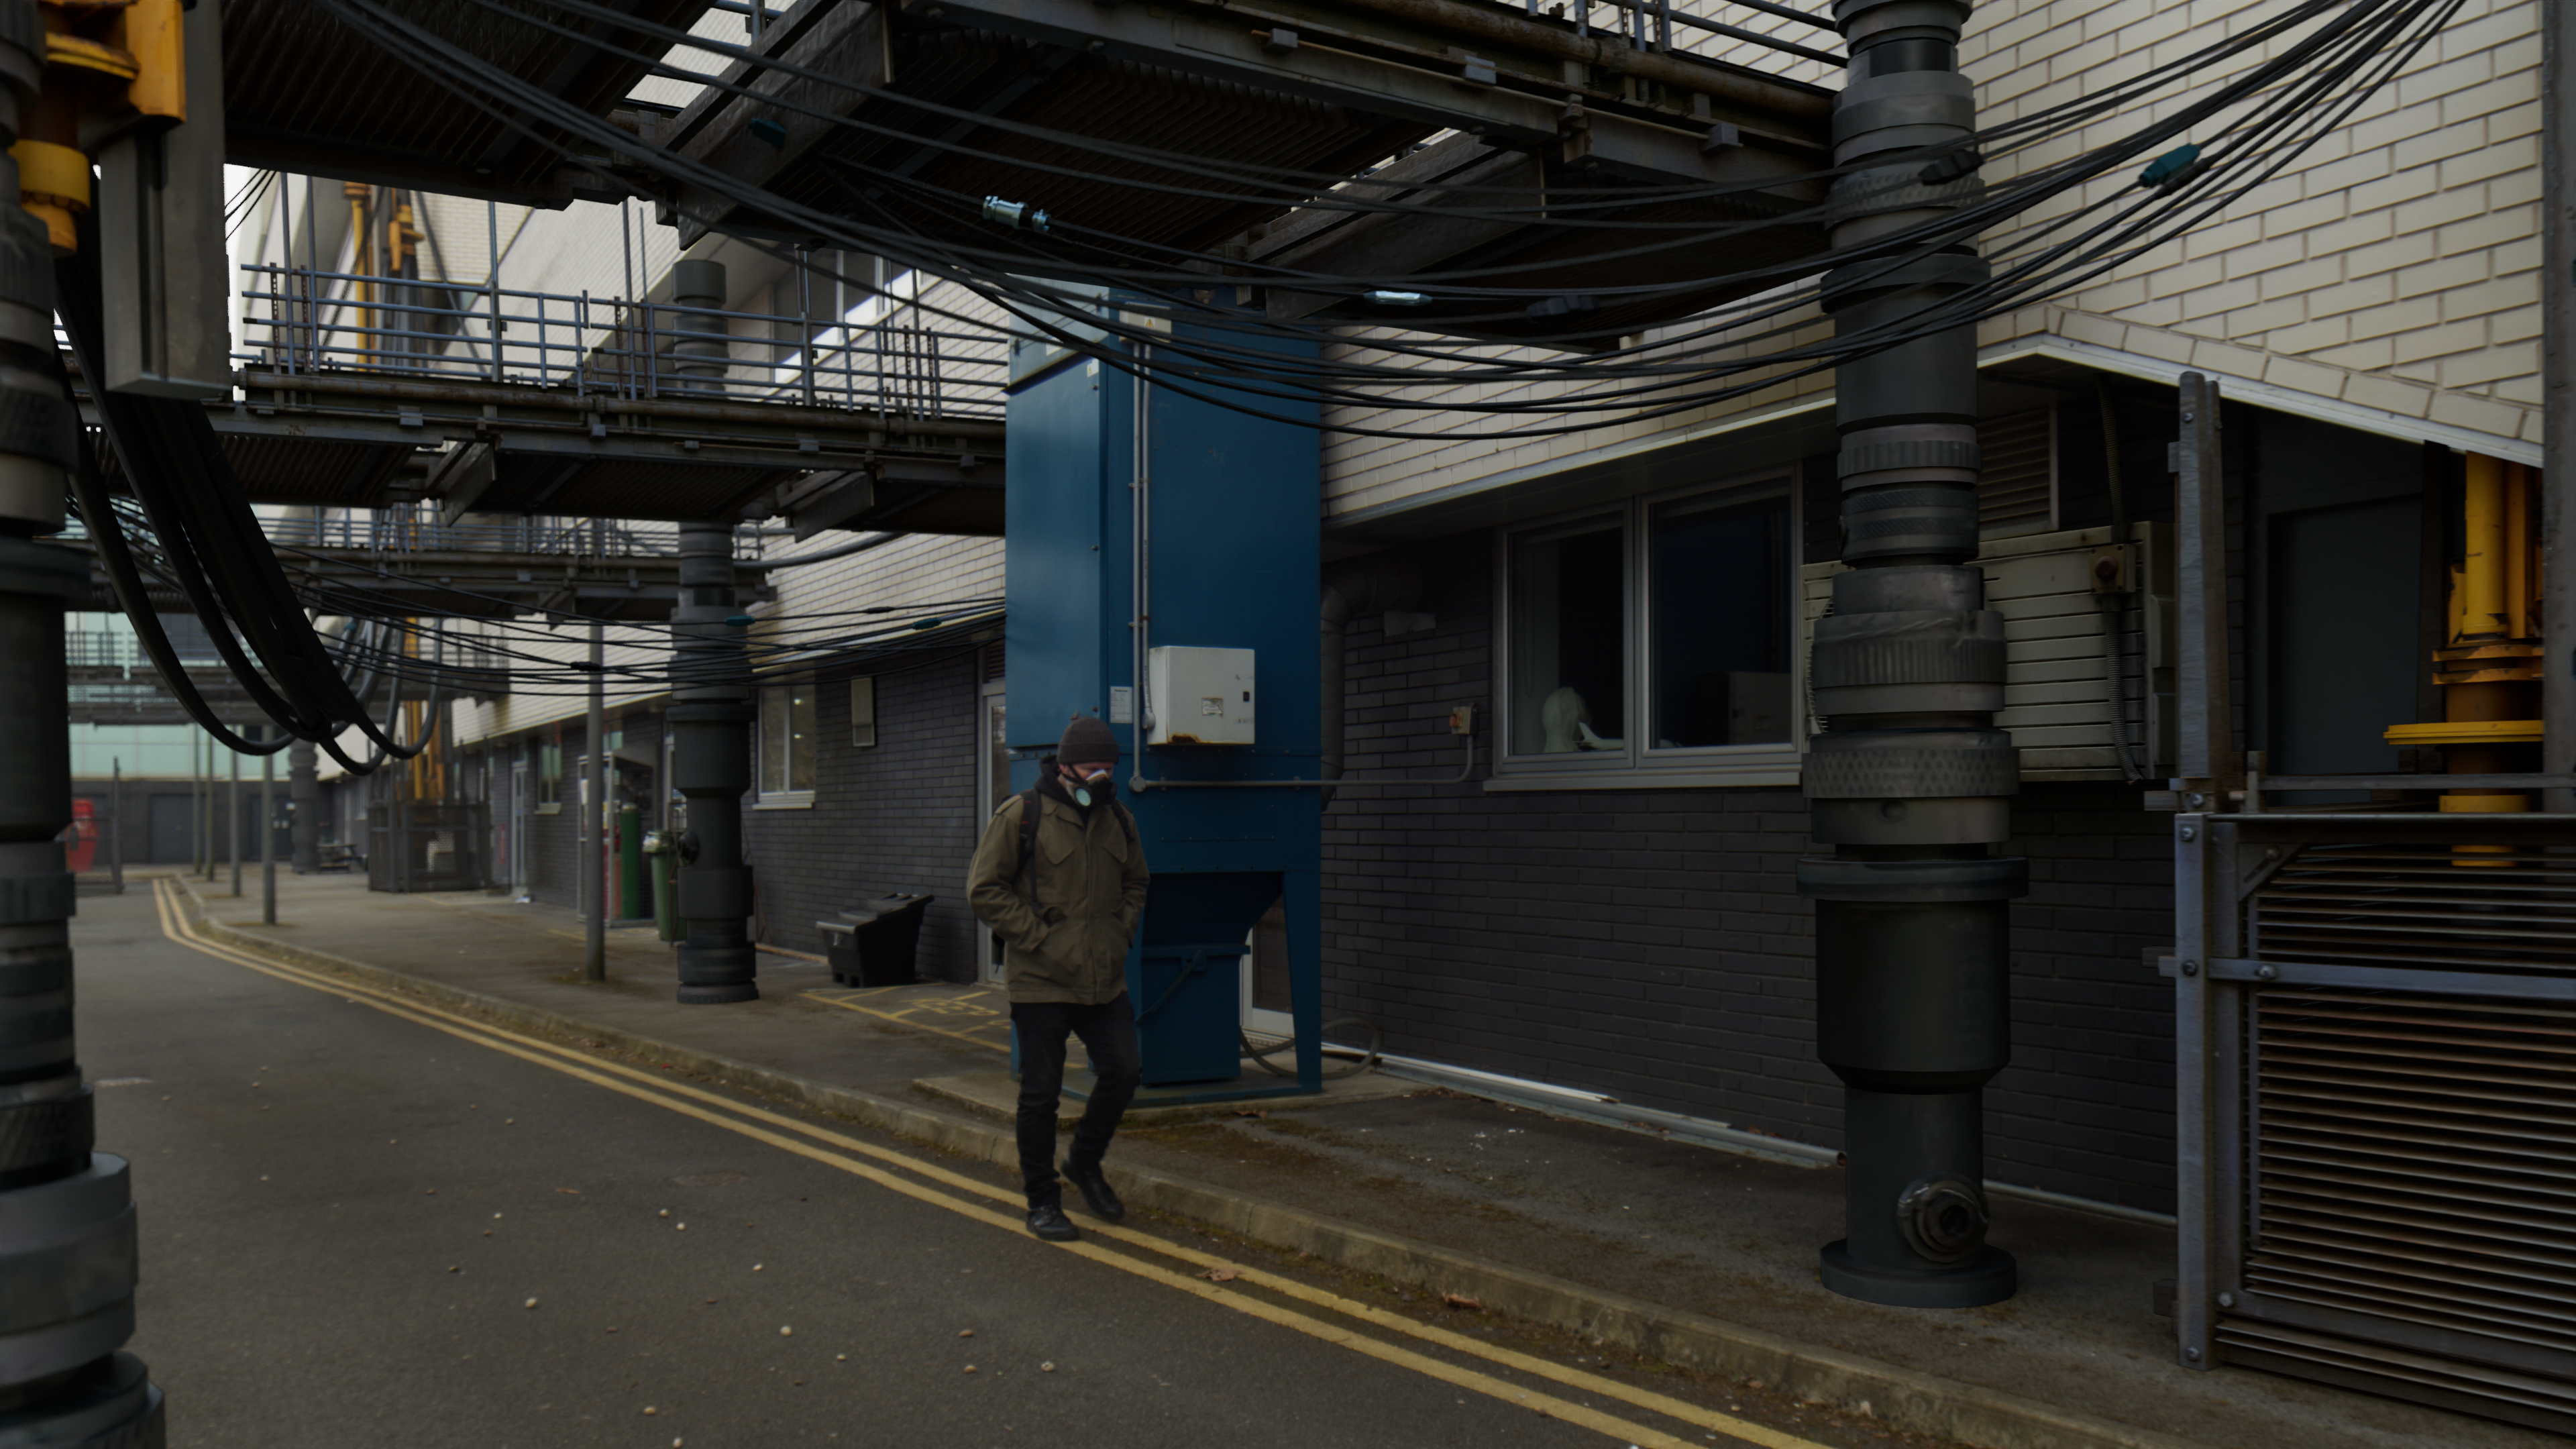
Final Combined Passses

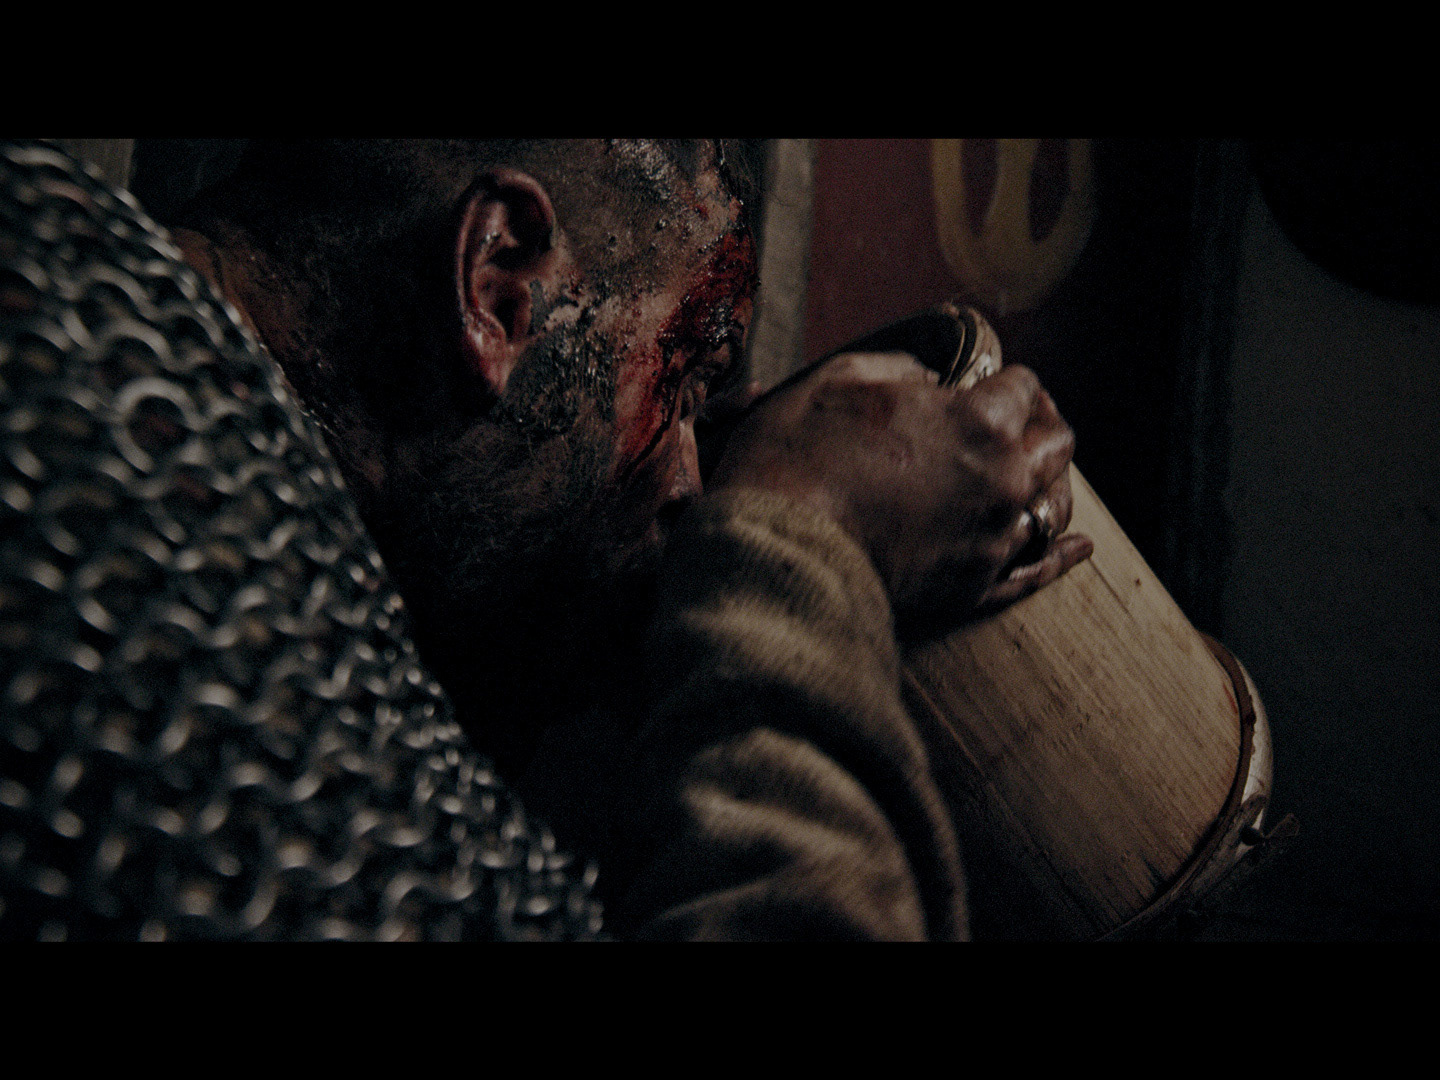
Roto. of Character Back over the Top Passes
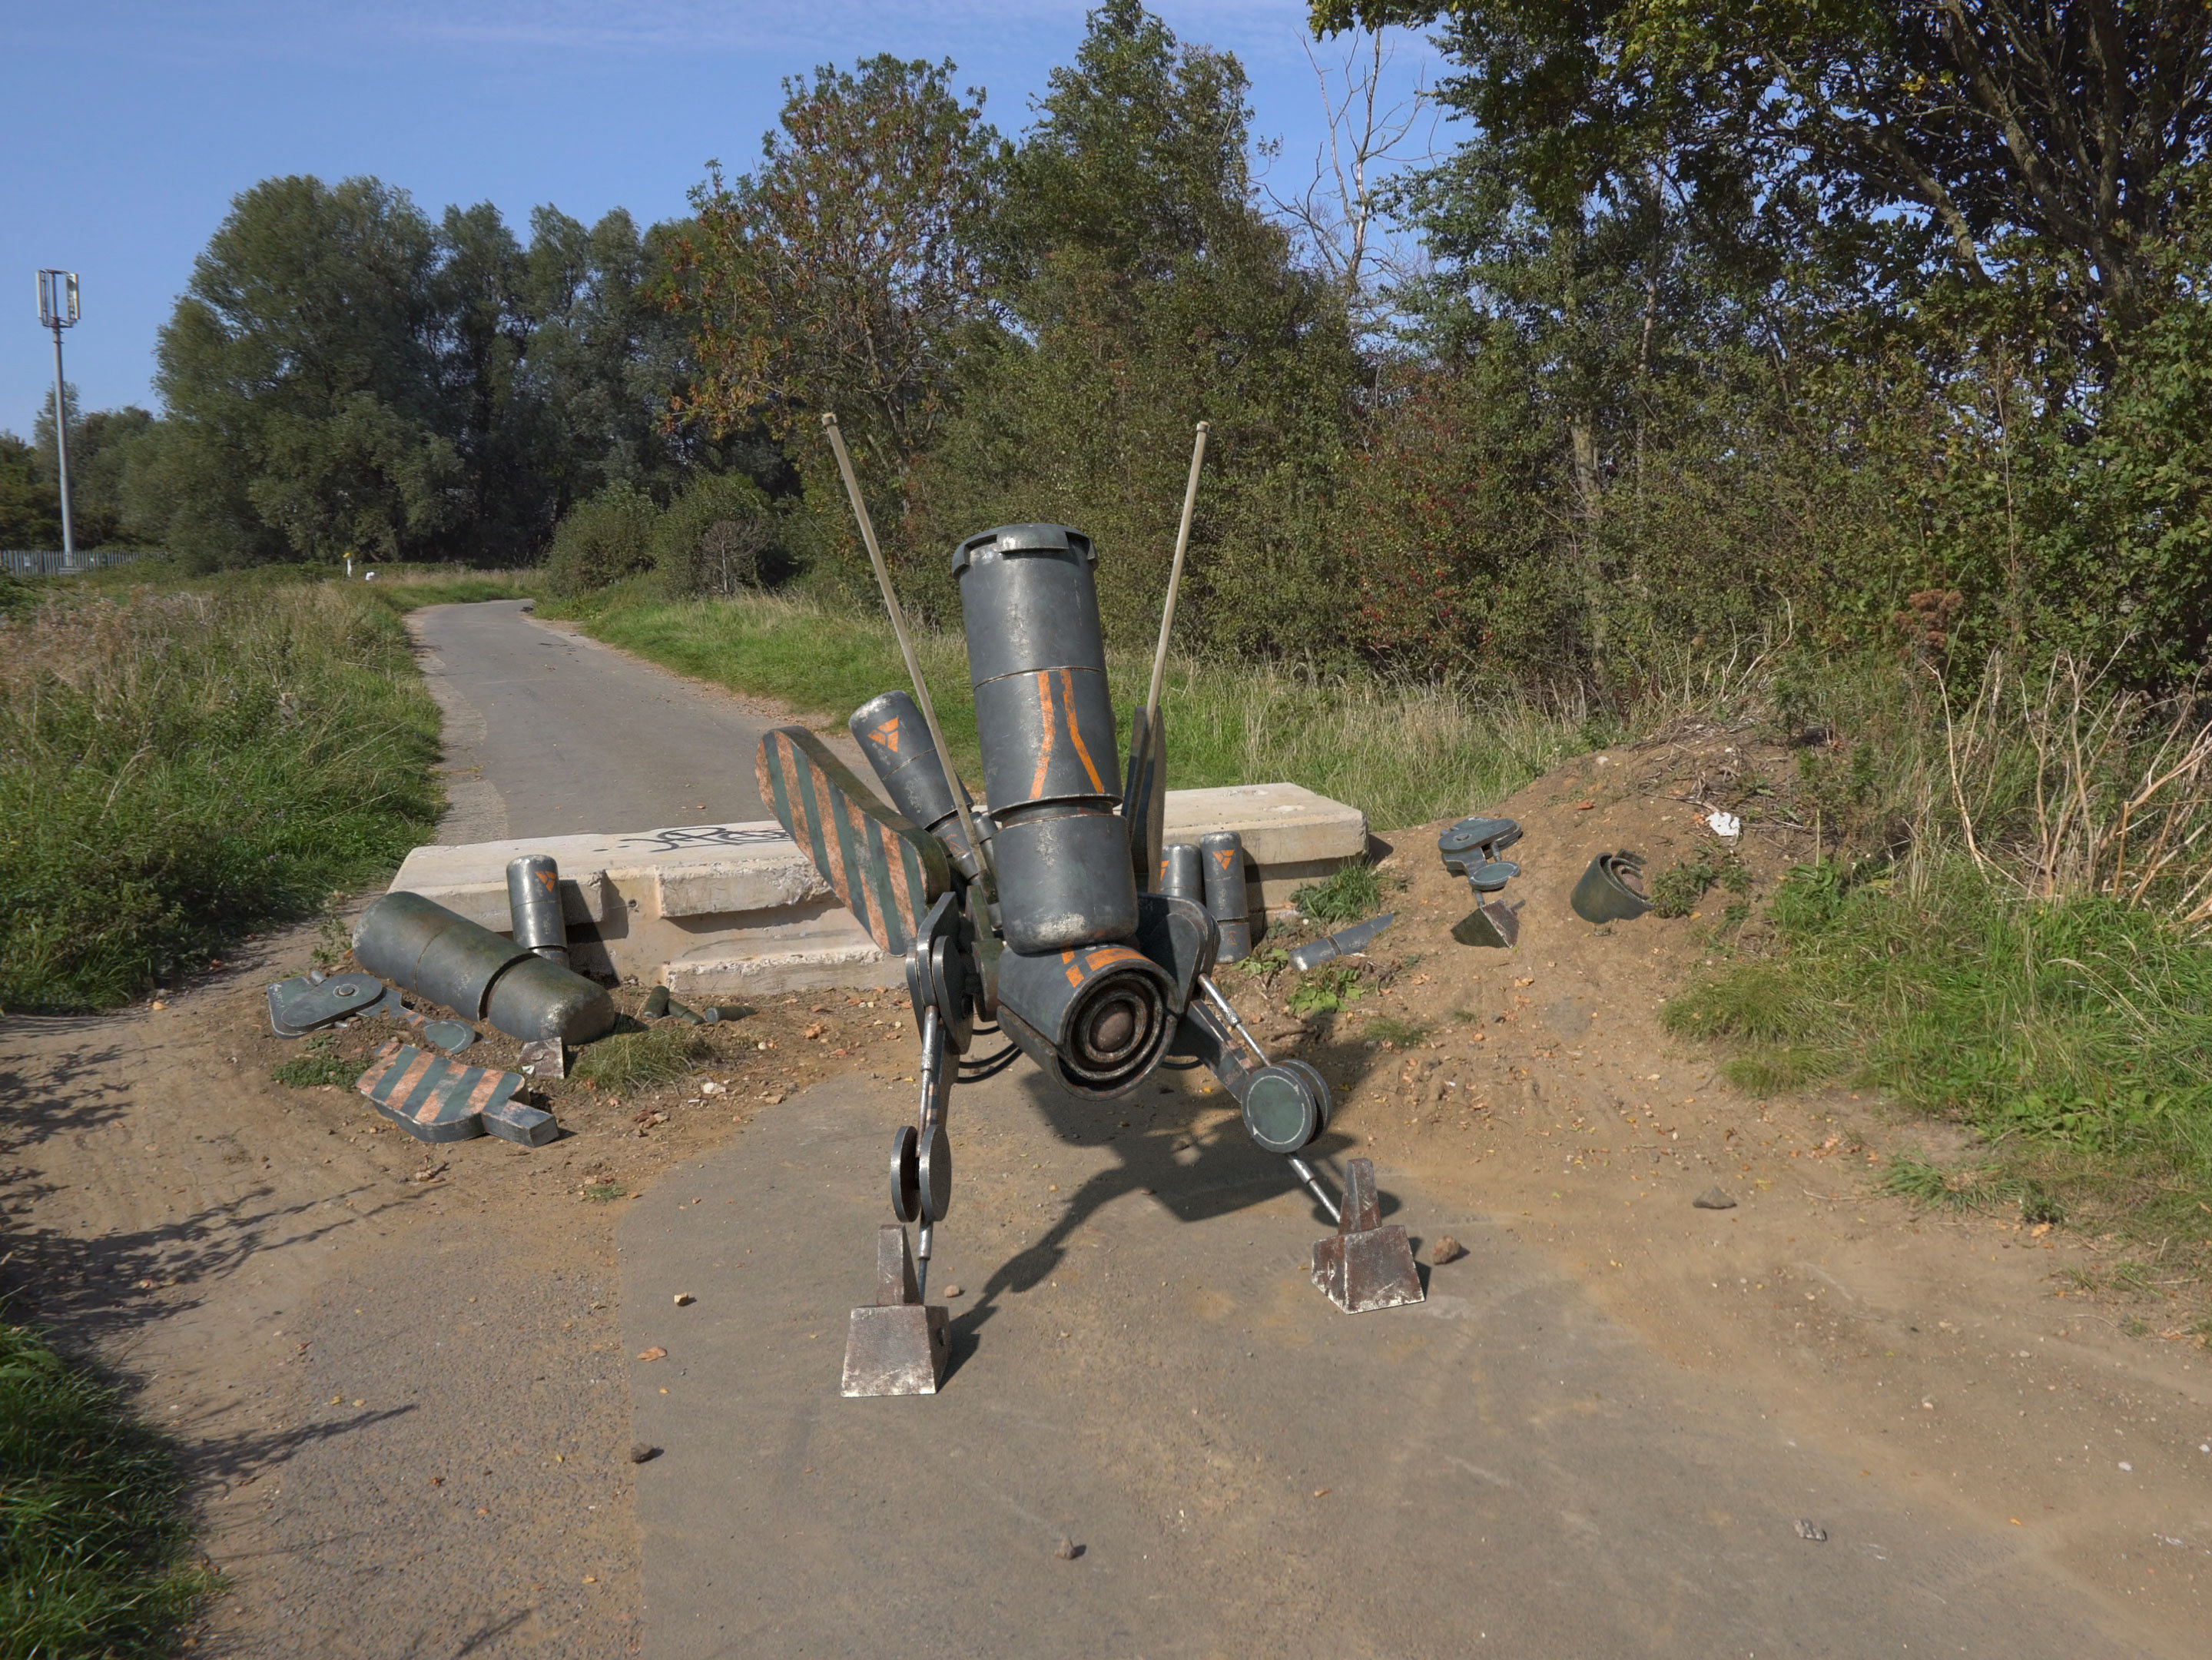
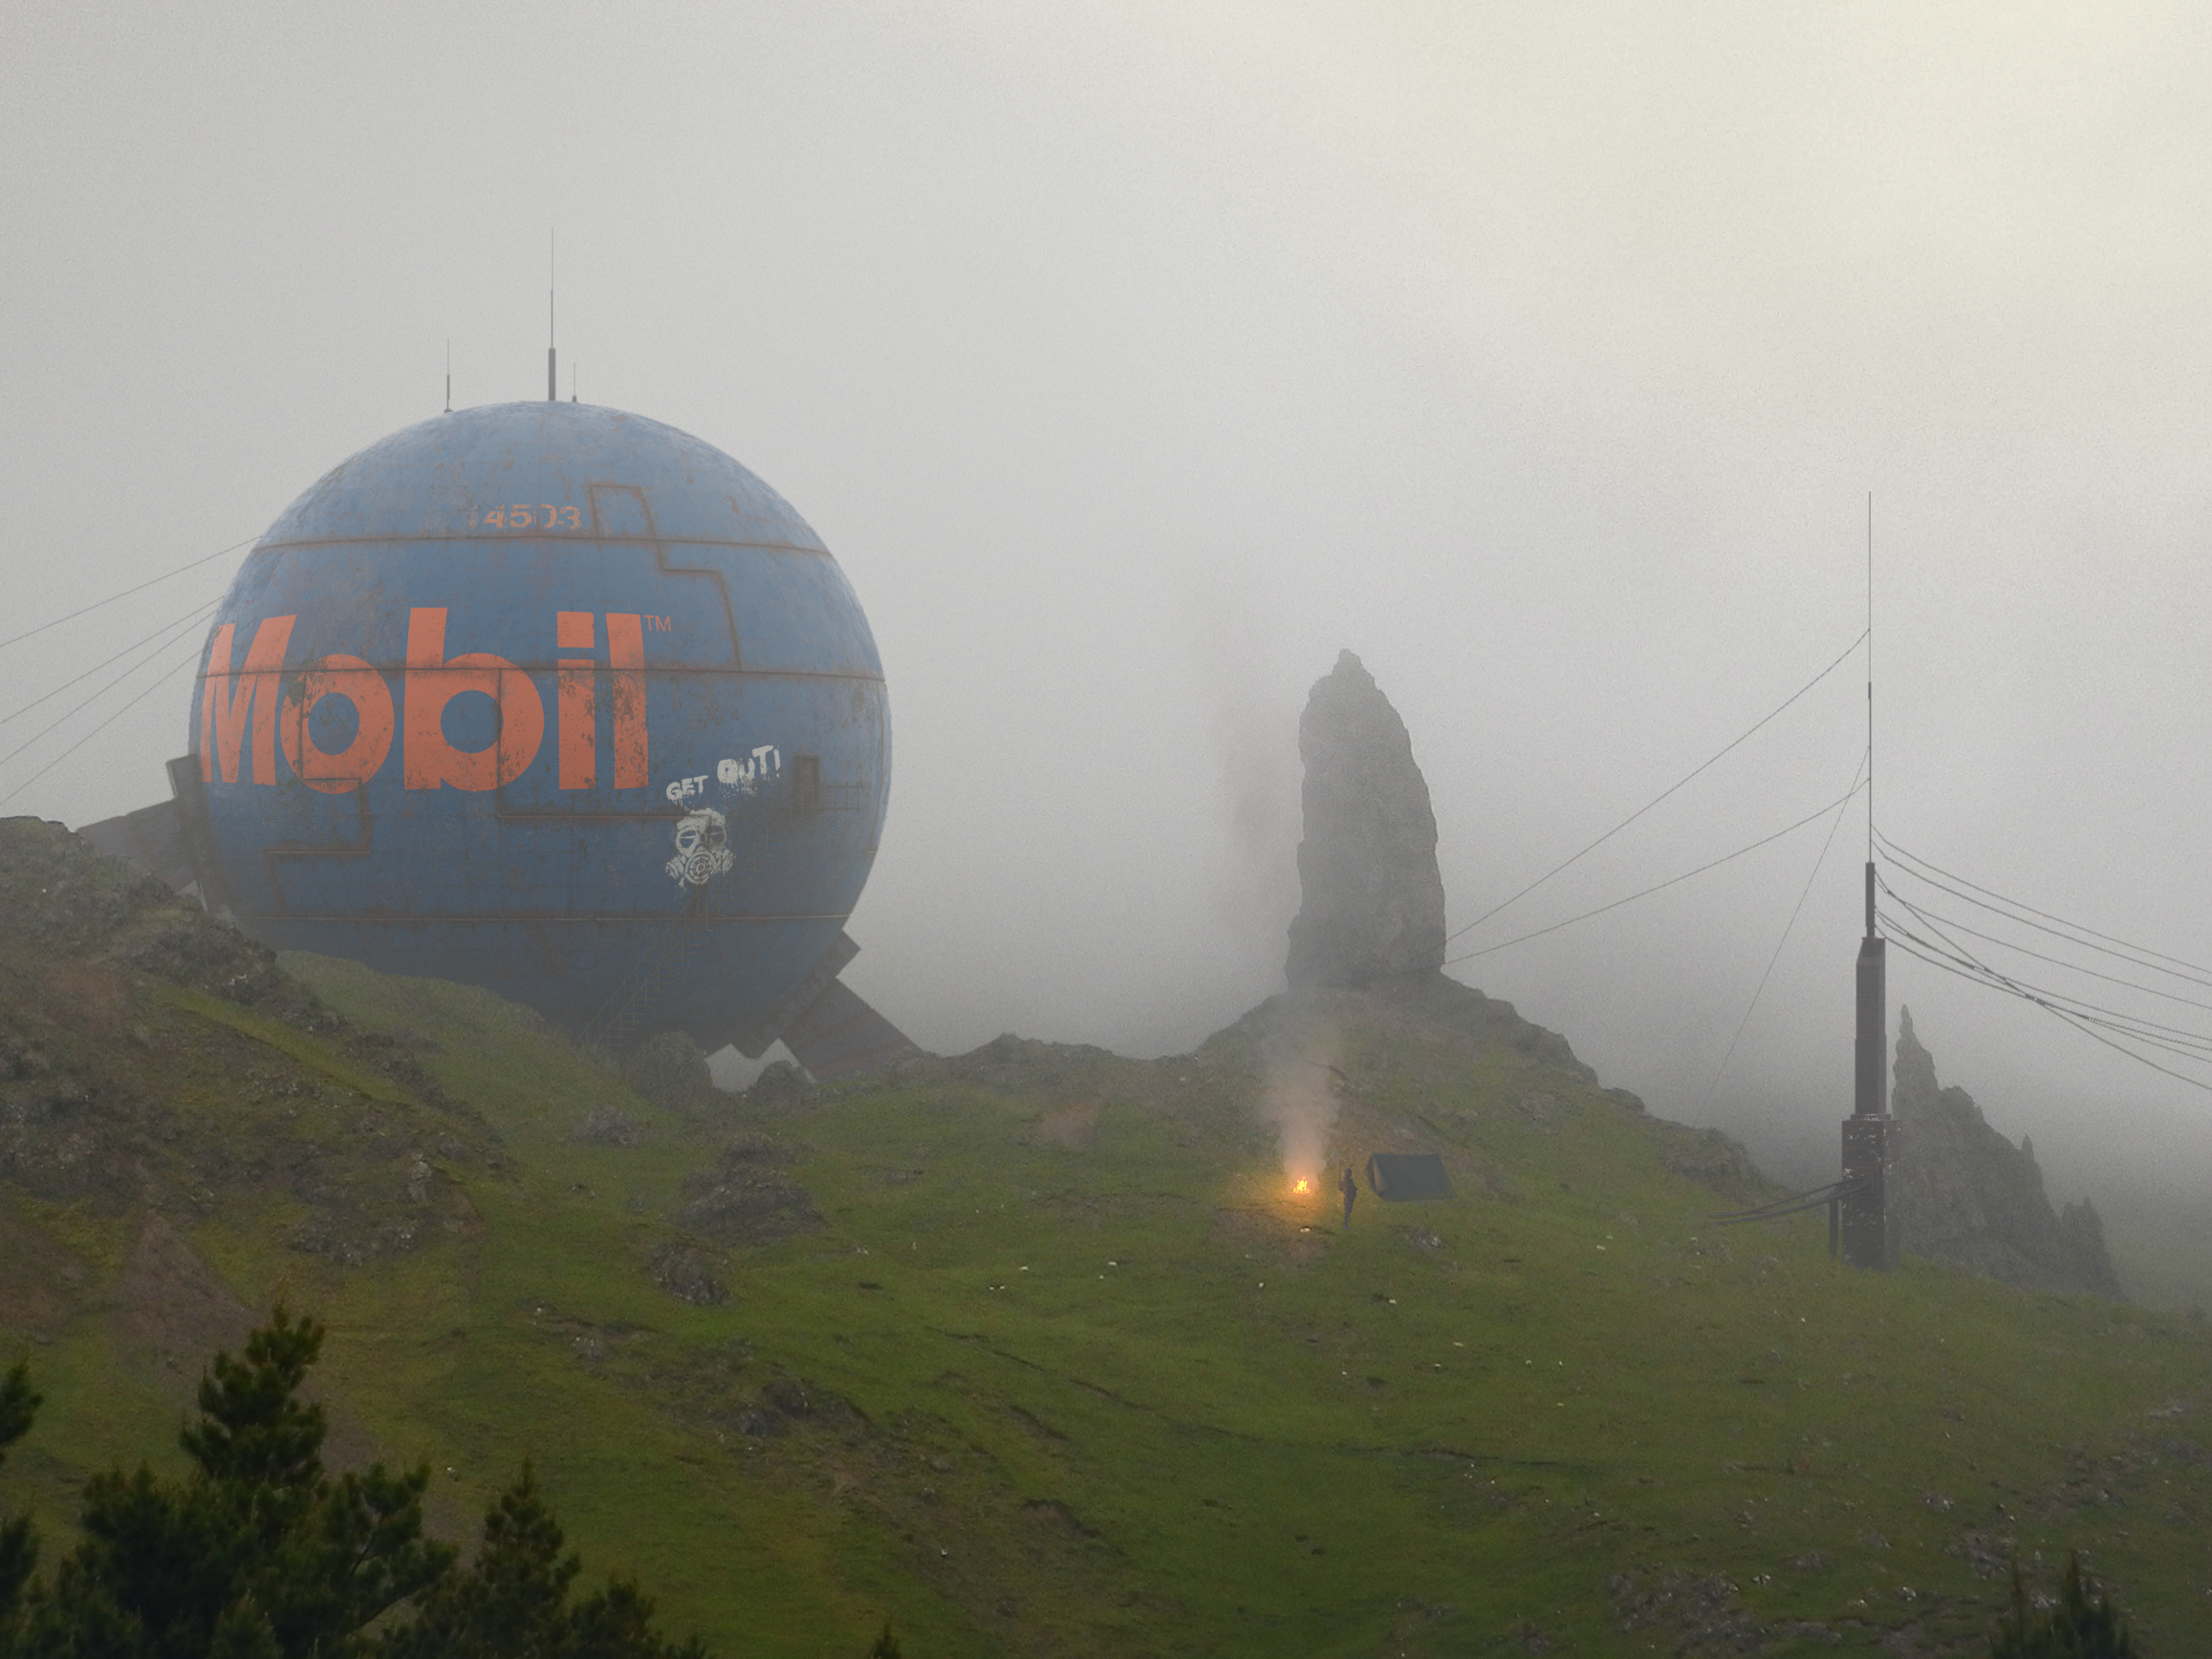
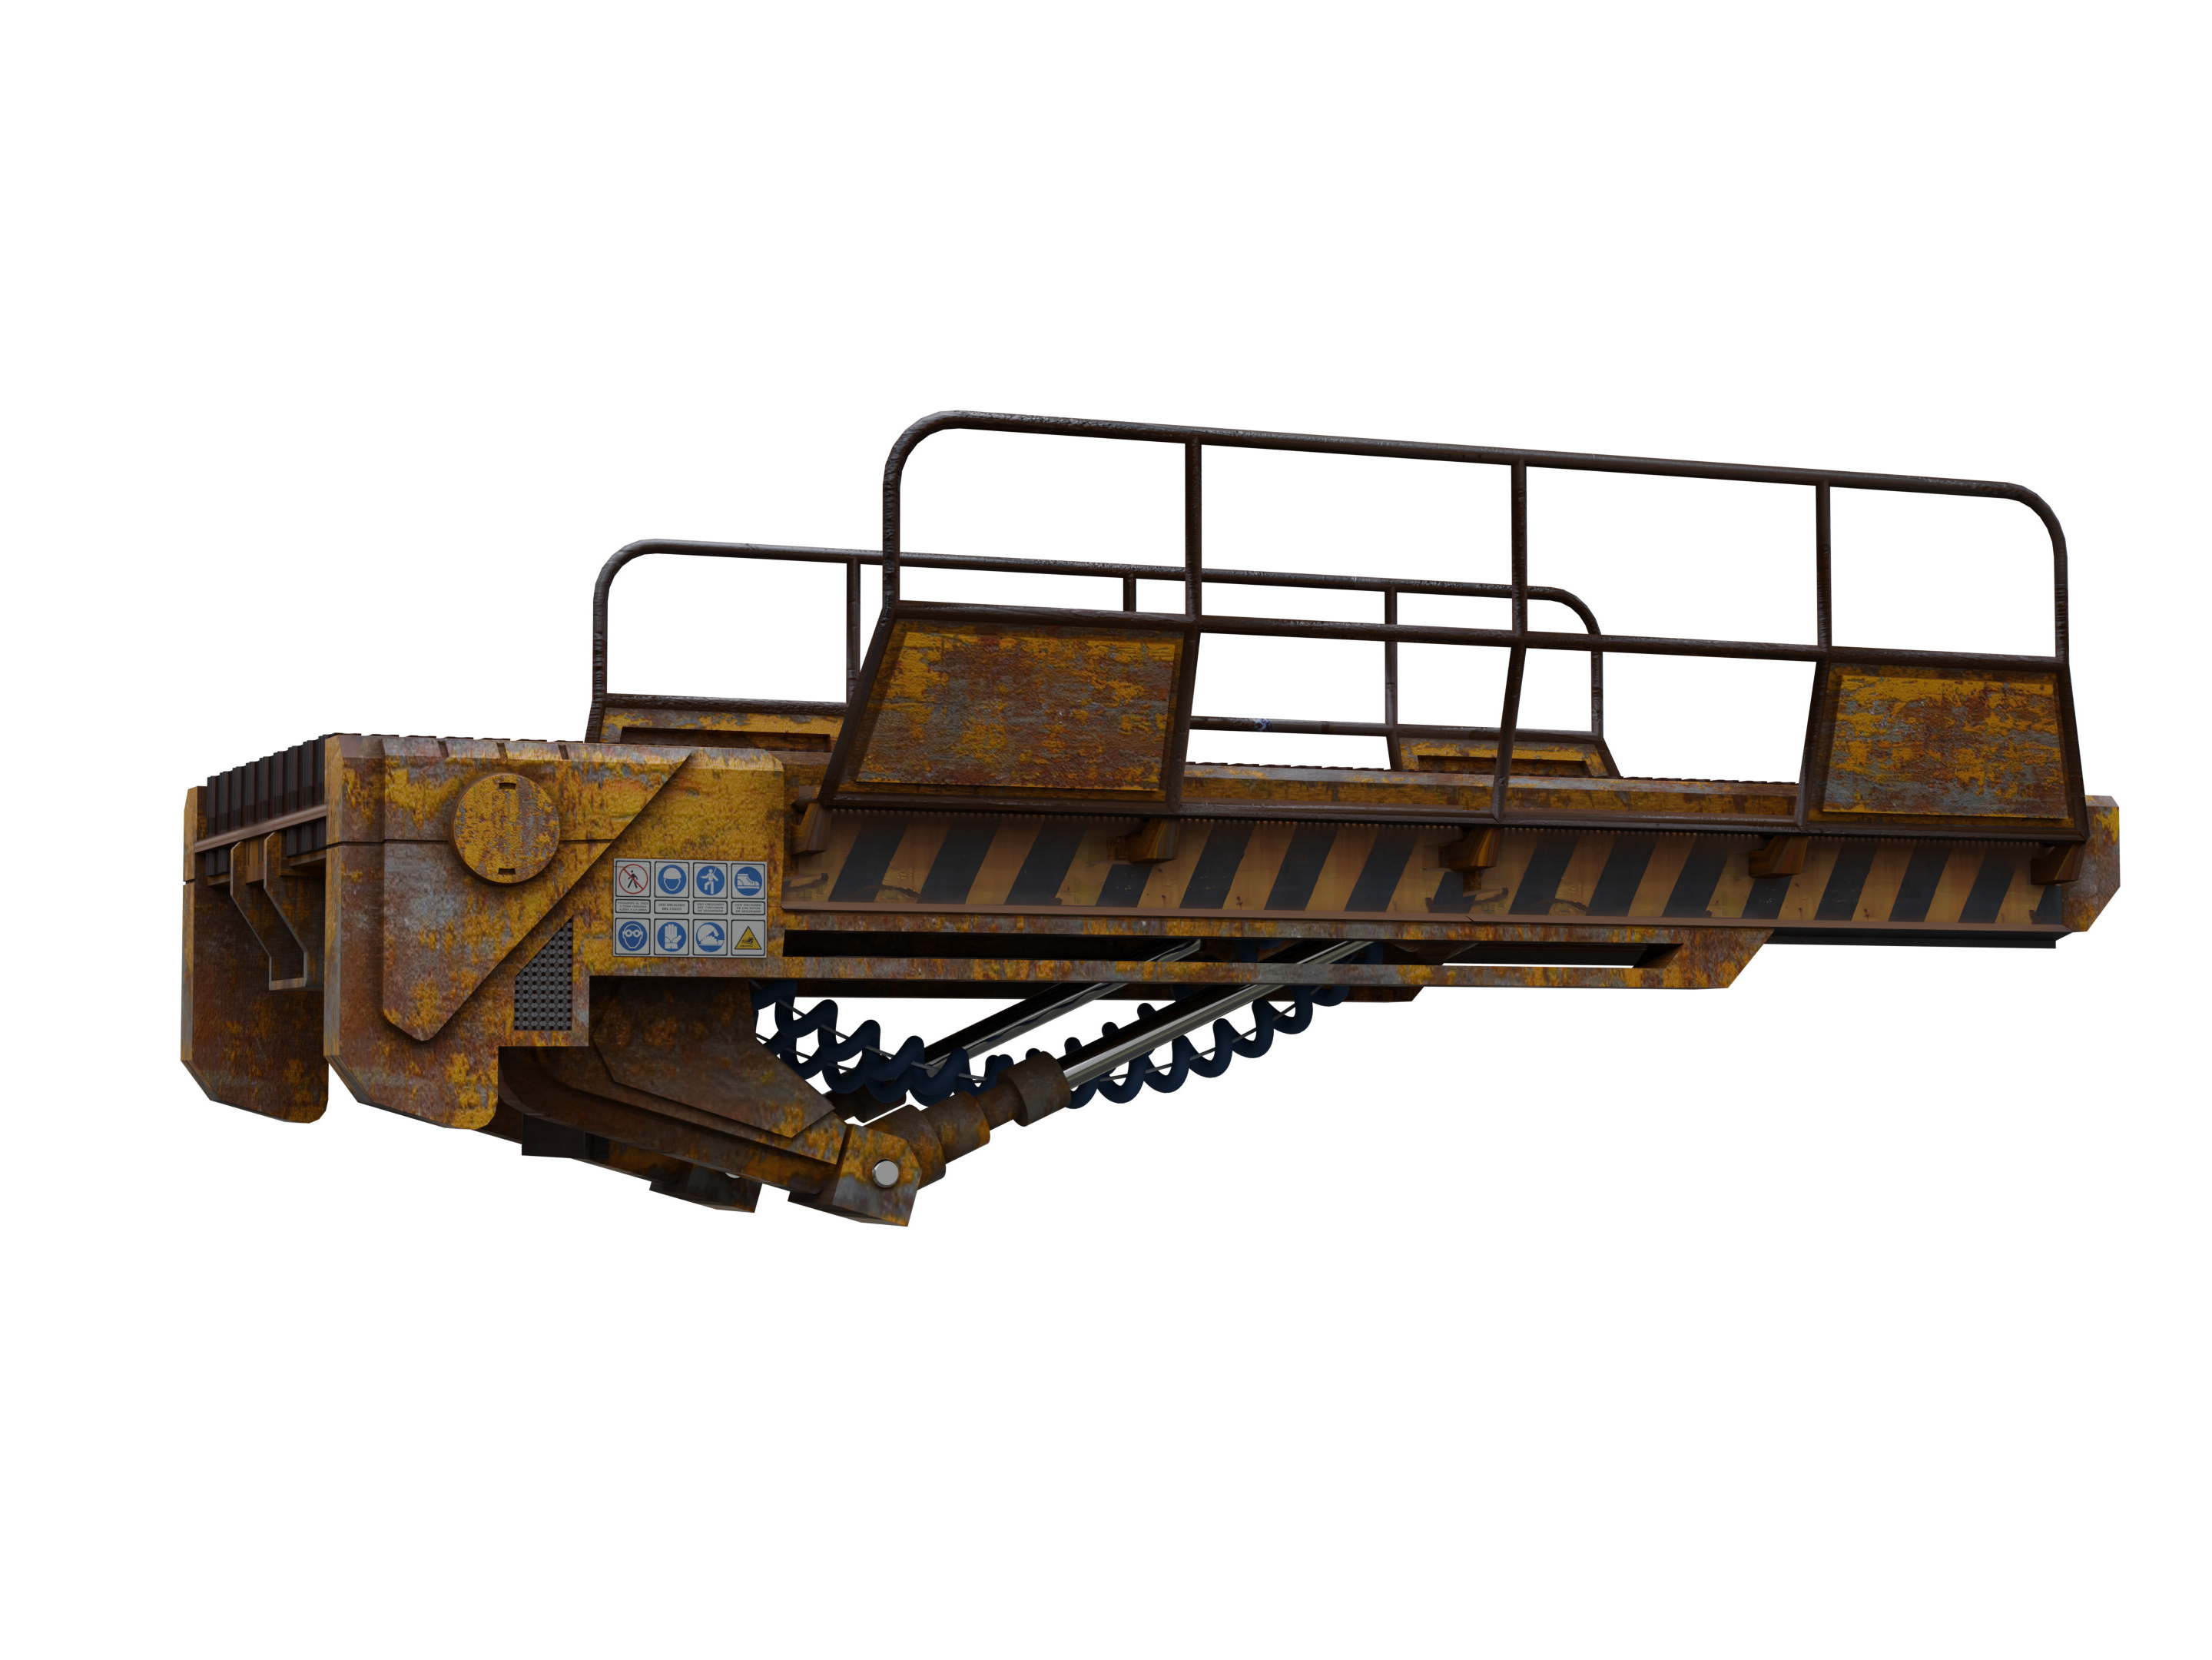
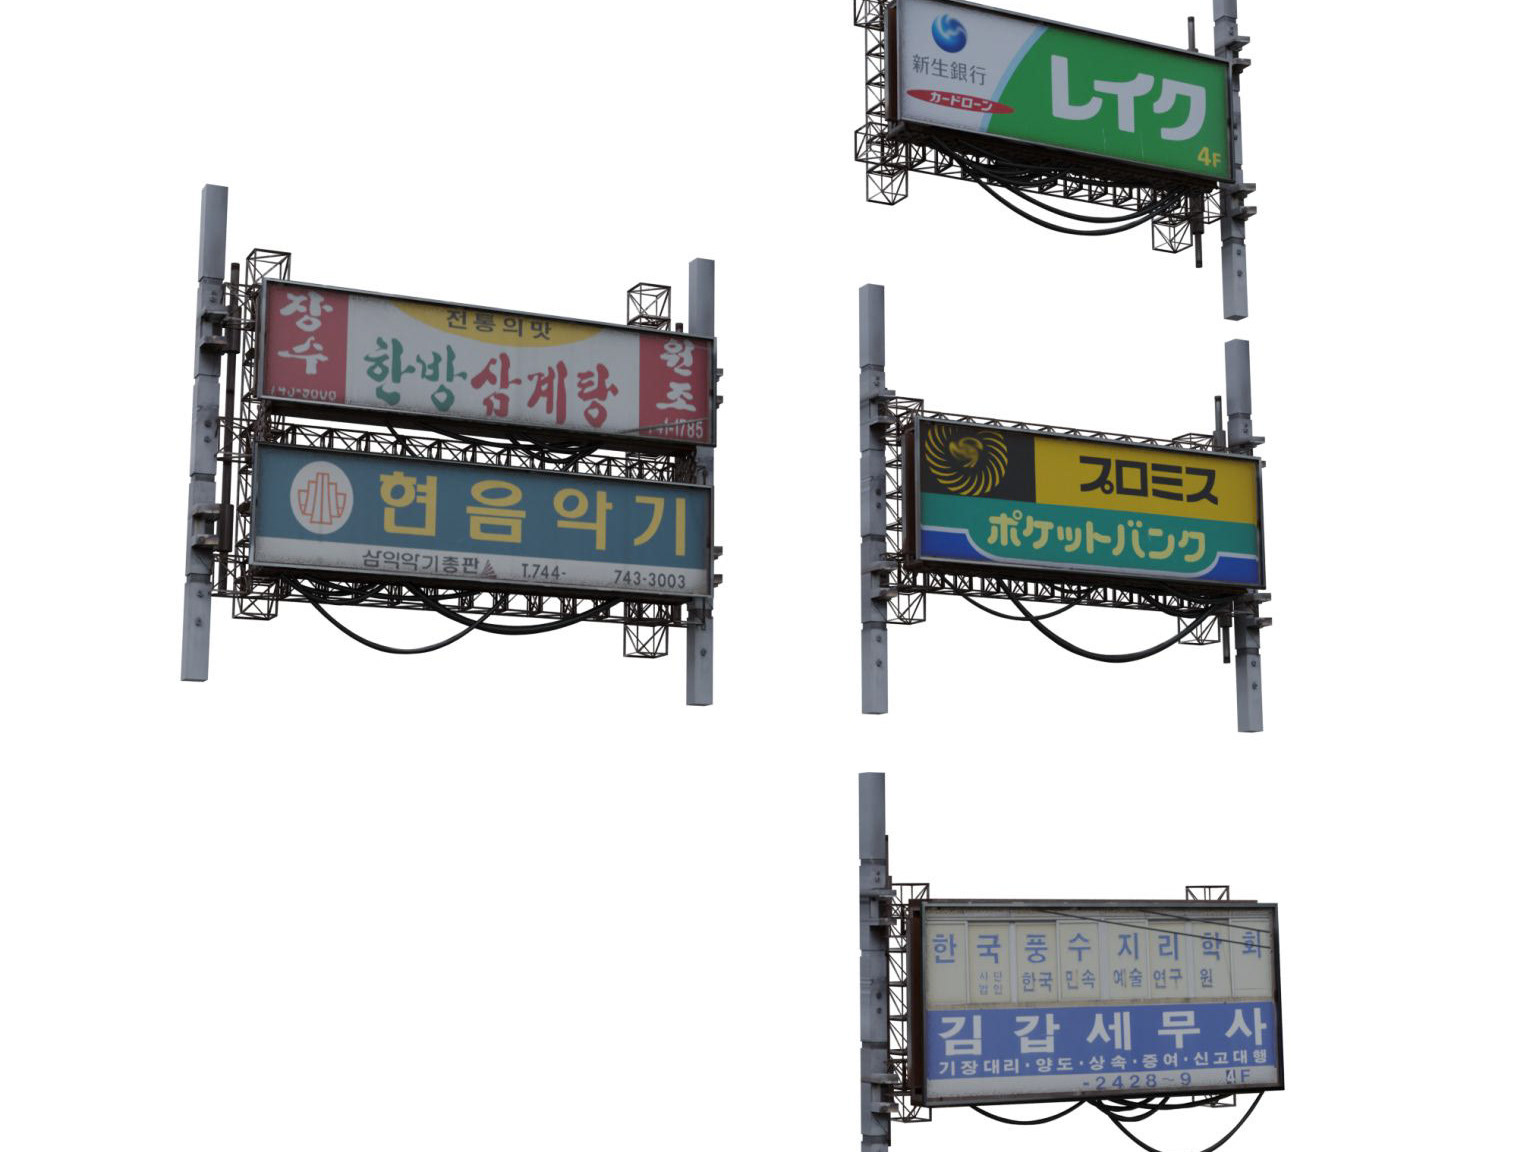
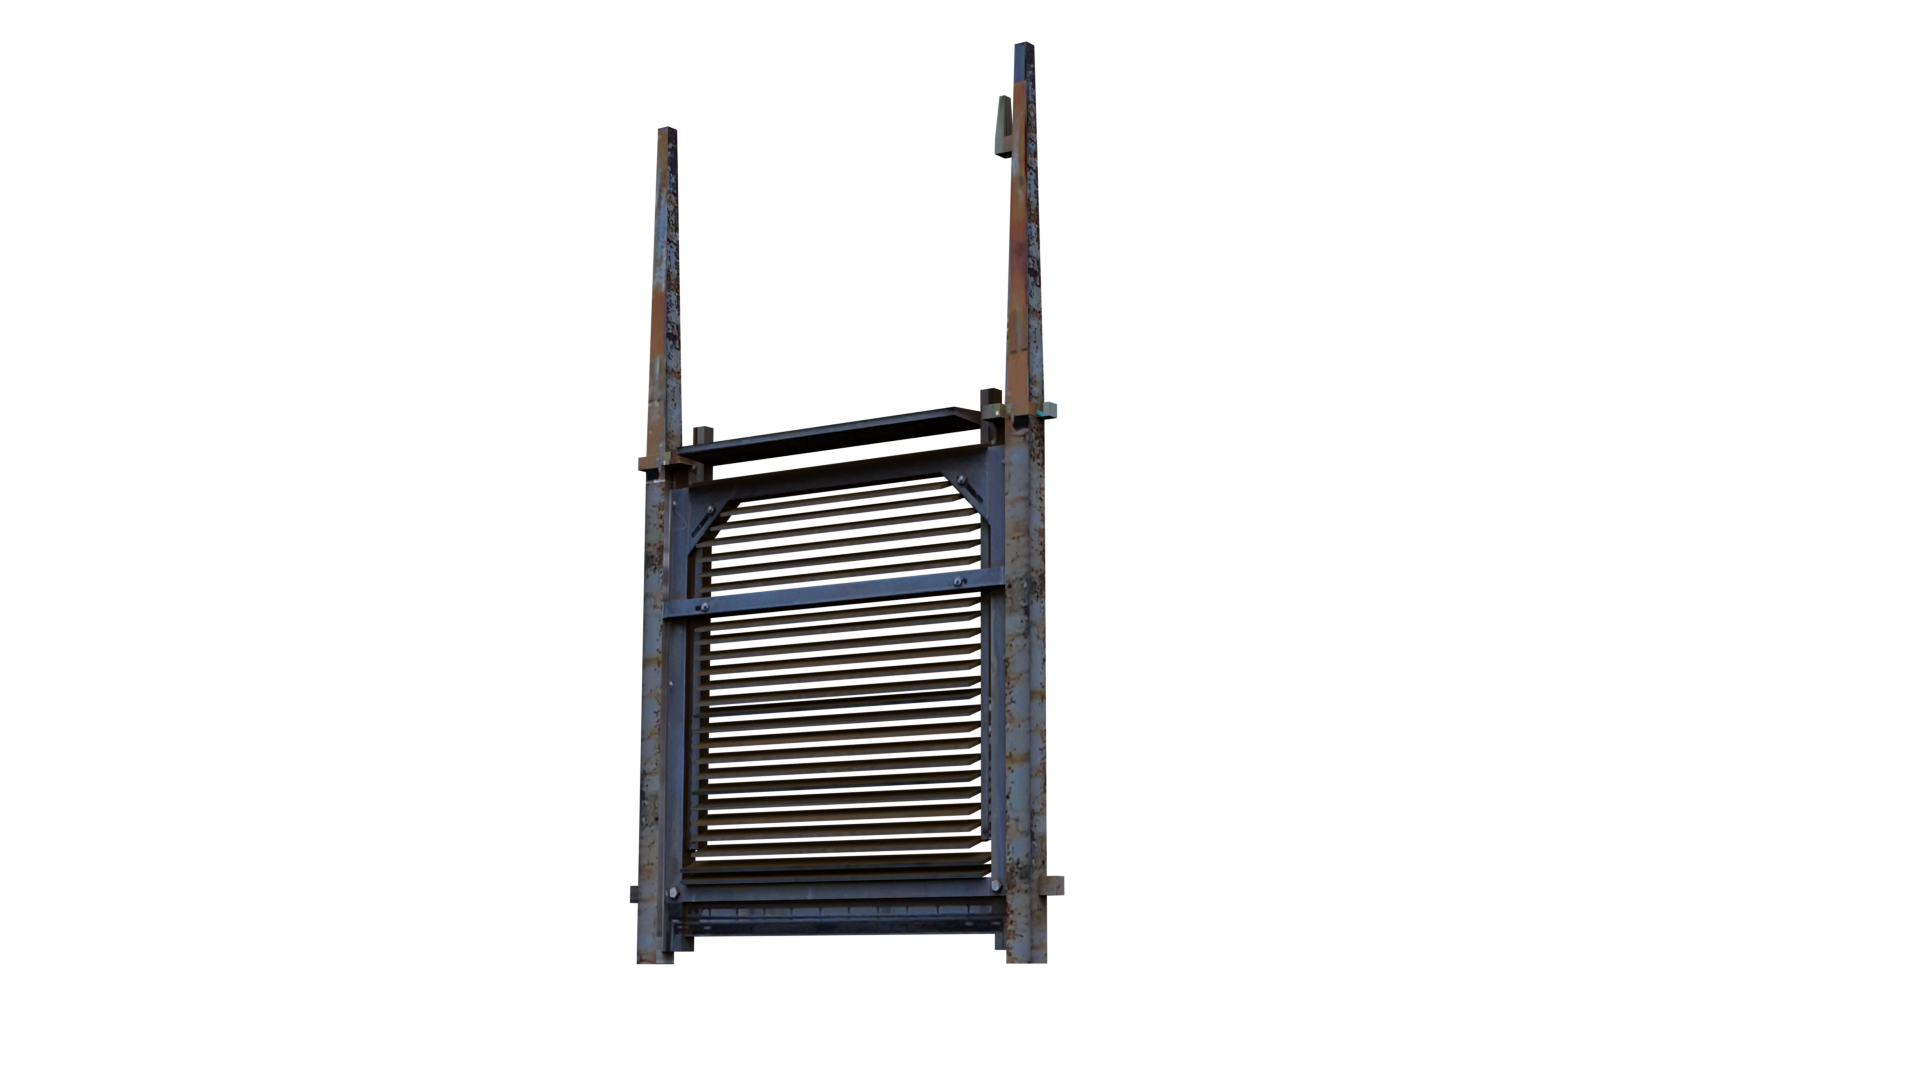
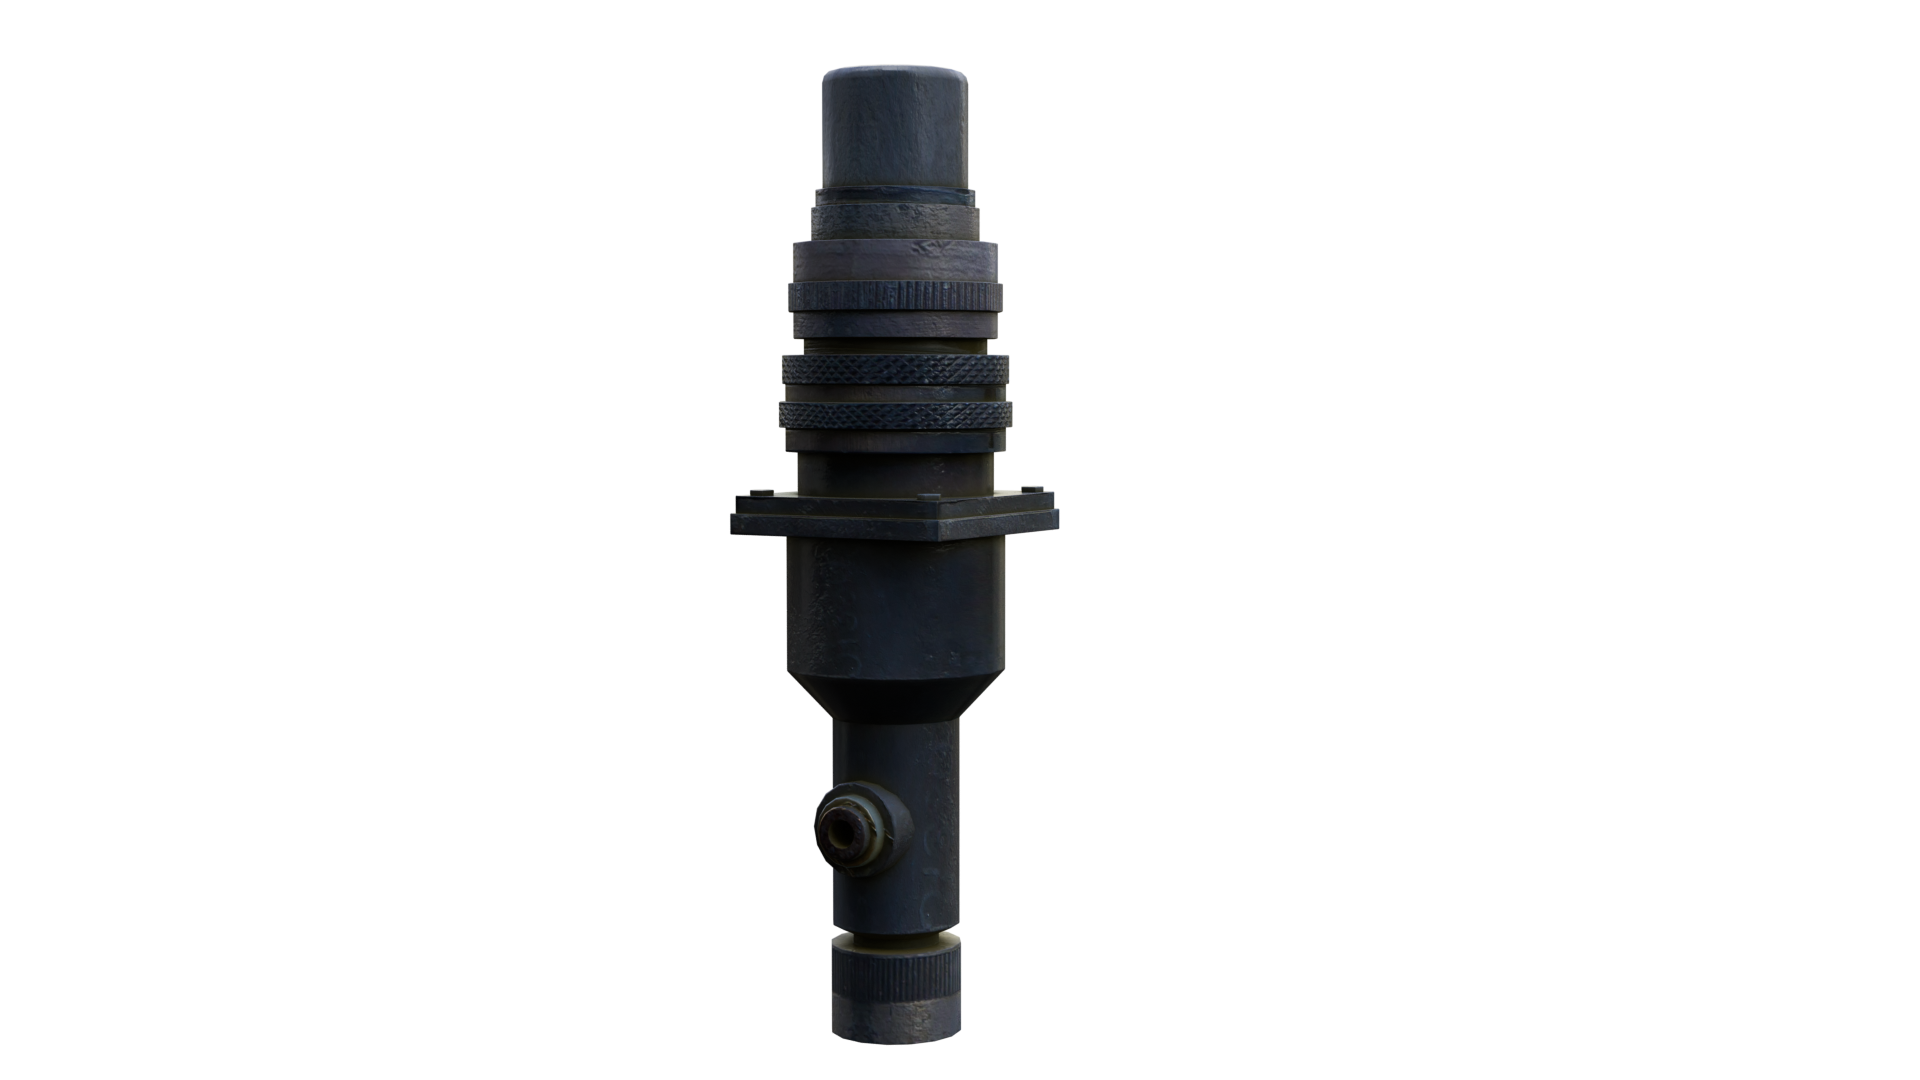
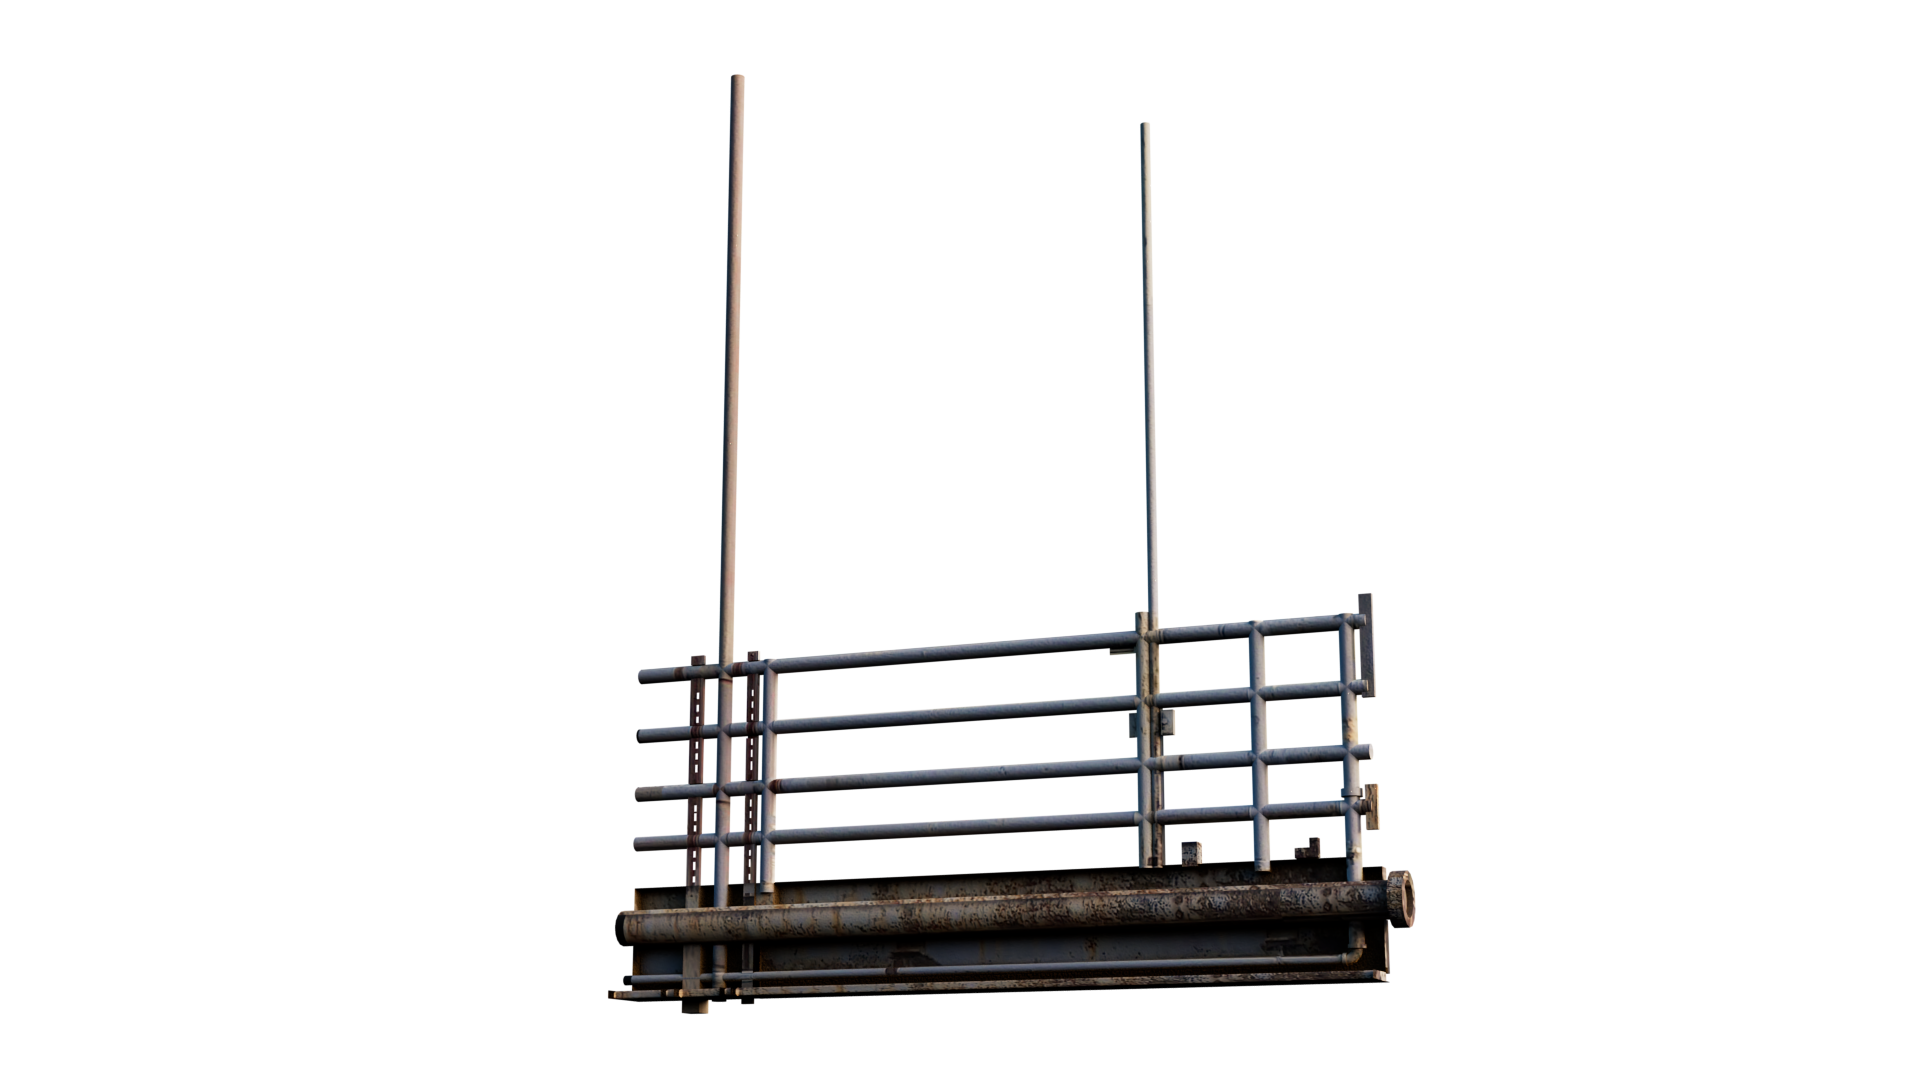
Additionally, the staff demonstrated how image reference can be used to extract modular 3D meshes and textures using the 'Image as Planes' Add-on inside Blender, a number of which can be seen in this video. Thank you to both James Field and Graham Cooper for supplying some of the modular pieces in this video which have then be integrated with my own demonstration 3D models/textures to Block-Out a simple 3D set-extension for demonstration purposes.
Also the Team were also supported in the acquisition stage by Steve Young, especially when setting up the long Dolly and Track system in readiness for Graham Cooper's fluid-like camerawork.
Much of this learning and practice-based experience has also been shared with our Year 3 students via in person tutorials and asynchronous video guides and asset packs, so that they can apply this to there graduate portfolios, and thus raise the currency of the skills portfolio when seeking employment in the sector.